

The most common mistakes when installing composite decking are wrong joist spacing, skipped expansion gaps, face screws through the cap layer, poor subframe drainage, and boards installed without acclimation time. Each one causes problems that cost real money — sagging boards, buckling, voided warranties, and subframe rot.
These aren’t edge cases. They’re the errors that show up in warranty claims — and when they do, the call comes back to the contractor or distributor first.
This guide is for contractors, project managers, and distributors who need installs done right the first time. Get these nine things right, and the product performs. Miss them, and no board quality saves you from the rework.
Mistake 1 — Not Planning for Composite
Many crews take their wood framing habits straight to a composite deck project. That’s where composite decking mistakes start — before the first board goes down.
Composite decking has different needs than wood. The framing spec is tighter. The fastener system is different. And careful planning of drainage matters more than most crews expect.
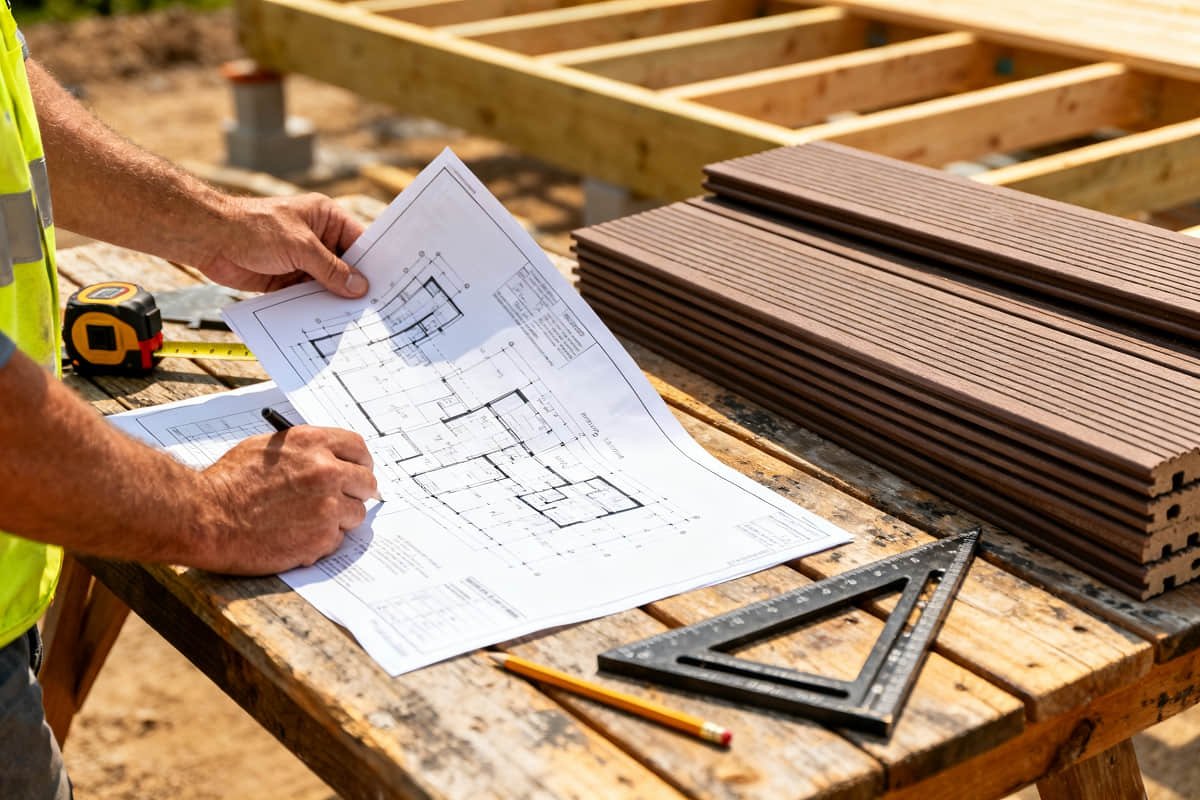
Three decisions specific to composite:
- Board profile — Solid boards suit high-traffic commercial jobs. Hollow profiles are lighter and cost-effective for residential builds.
- Joist layout — Composite needs tighter spacing than wood. Mistake 2 covers the correct spec.
- Drainage plan — Factor in slope, grade clearance, and airflow before the subframe goes in.
Also consider where breaker boards will fall across long runs. This affects your material order and where cuts land.
Plan for composite — not for wood.
Mistake 2 — Wrong Joist Spacing for Composite
This is the most common structural error when crews move from wood to composite decking. Standard wood framing runs at 16″ or 24″ on center. That’s too wide for composite deck boards.
Boards on wide-spaced joists flex under foot traffic. Over time, they sag. Fixing it after the fact means pulling everything up and re-framing.
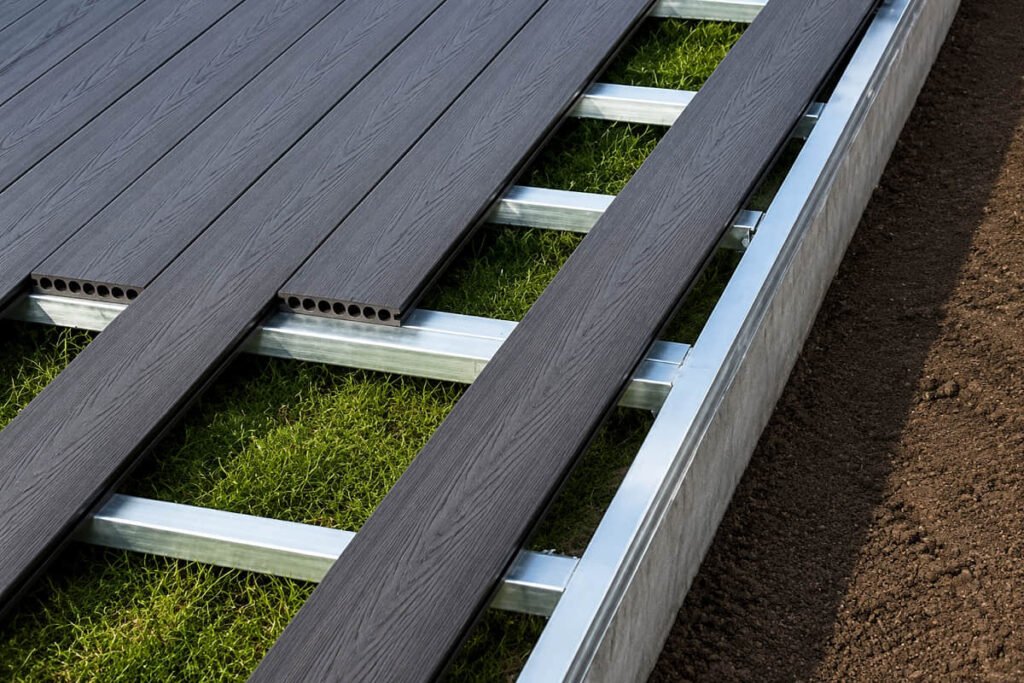
The correct spec is 12″–14″ on center (300–350 mm). Hollow-profile boards need the tighter end of that range.
| Board Type | Recommended Joist Spacing |
|---|---|
| Solid composite board | 12″–14″ o.c. (300–350 mm) |
| Hollow composite board | 12″ o.c. (300 mm) |
| Wood decking (standard) | 16″–24″ o.c. (400–600 mm) |
Our decking boards have a flexural strength of 26.2 MPa (approx. 3,800 psi) per EN 15534. That’s strong — but it’s built for proper joist support, not wood framing habits.
Wrong joist spacing is the leading cause of board flex complaints and warranty disputes. Get this right before you lay a single board.
Not sure which board profile suits your project load? Share your specs with our team — we’ll confirm the right board and joist configuration before you order.
Mistake 3 — Skipping Expansion Gaps
Composite boards expand and contract with temperature changes. Skip the gaps and boards push together — they have nowhere to go but up. Buckling and warping follow fast.
This is one of the most preventable mistakes on the list. It’s also one of the most visible when it goes wrong.
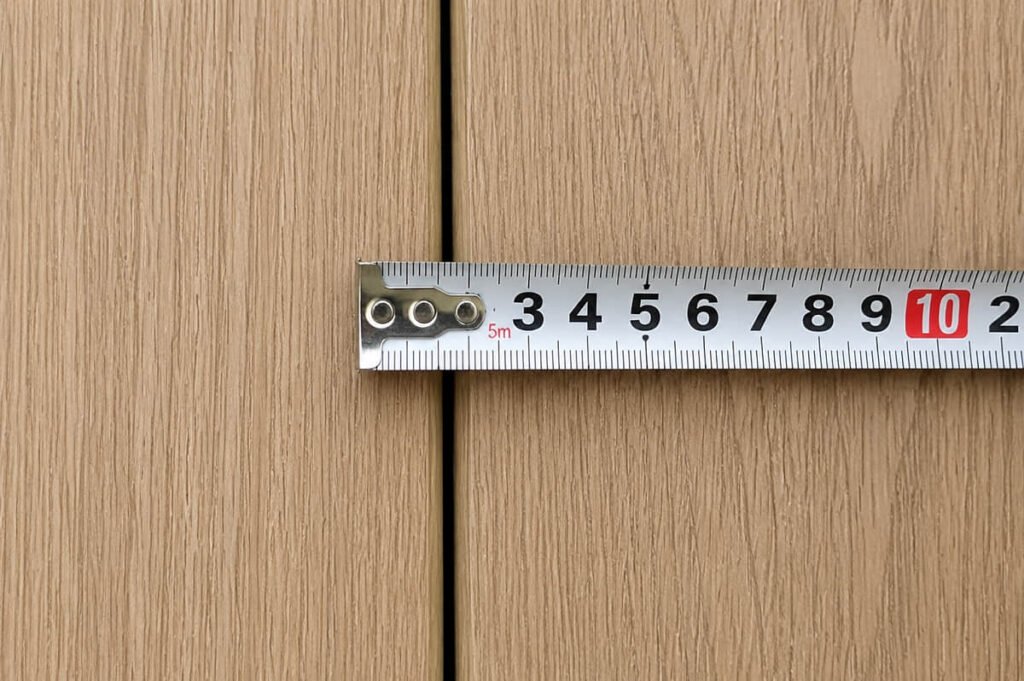
The hidden clip fastener system handles side-to-side spacing automatically. But end-to-end gaps must be set manually. If you skip them, no fastener system in the world fixes the problem.
Pay extra attention at butt joints — where board ends meet along the same run. These are the spots where boards push hardest against each other. Proper spacing here is not optional.
How Much Gap Should I Leave Between Boards?
Leave 5–8 mm (approx. 3/16″–5/16″) end-to-end between boards. Use the wider end for longer boards and in hotter climates — Arizona, Texas, Florida. In regions with hard winters like Minnesota or the upper Midwest, that full range applies across seasons too.
Side-to-side spacing is handled by the hidden clip fasteners. No manual gap-setting needed there.
The rule: when in doubt, go wider. A slightly bigger gap is invisible from above. Boards pushing against each other is not.
Mistake 4 — Using the Wrong Fasteners
Face-screwing is the default habit from years of wood work. It’s wrong for composite deck boards.
Screws driven through the board face pierce the cap layer. That lets moisture into the core. It also leaves visible screw heads across the deck surface — marks that undercut the finished look of any outdoor space.
Hidden clip fasteners are the right system. Stainless steel clips seat in the board’s side groove, lock onto the joist, and hold each board firmly in place. The next board slides into the clip. No visible hardware. No holes through the cap.
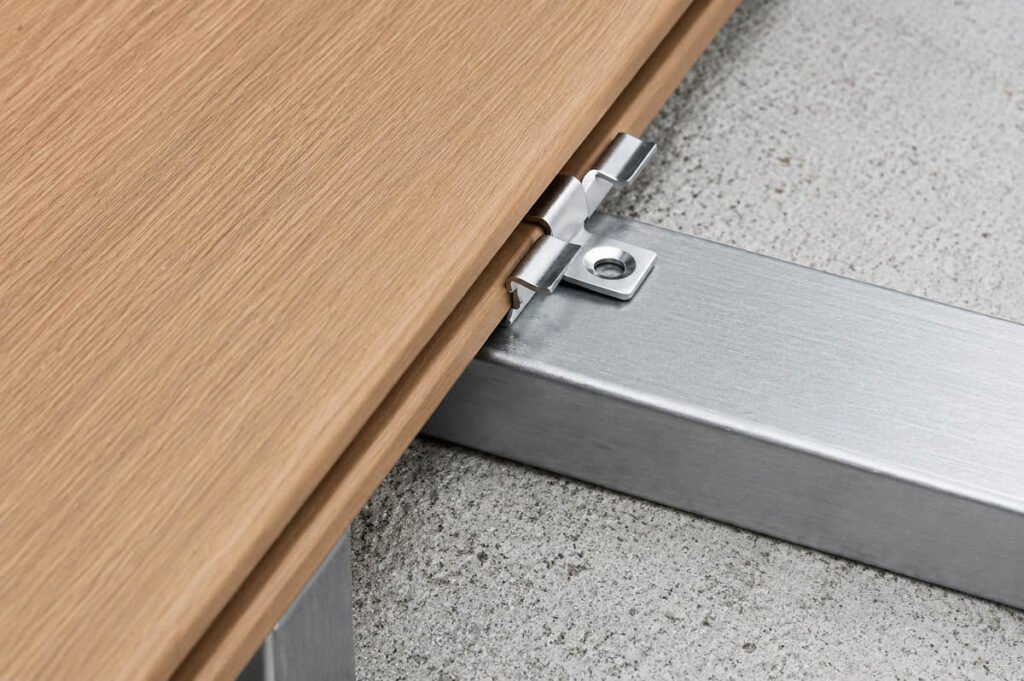
The first board uses starter clips to lock it against the fascia. Every board after that follows the same groove-and-clip method.
Experienced crews can install 150–200 sq ft per hour with this system.
For distributors, wrong fasteners are the top source of contractor call-backs. Those calls land on your team first — and they’re hard to resolve once boards are down.
One more point: wrong fasteners void the warranty. Incorrect installation is not covered. Use the clip system.
Mistake 5 — Poor Drainage Under the Deck
Composite boards won’t rot. They have a water absorption rate of just 0.2% per ASTM D1037. The boards are not your drainage problem.
The subframe is.
Wood joists trap moisture fast when airflow is blocked or water pools below. That shortens the subframe’s life — sometimes in just a few seasons. Proper drainage matters most in wet climates: the Pacific Northwest, the Gulf Coast, and coastal markets in the Southeast.
Three drainage checks before you build:
- Grade the ground so water runs away from the structure, not toward it
- Leave enough clearance above grade for air circulation under the deck
- Keep the underside clear of debris — leaves and dirt block airflow and trap moisture against the framing
The composite deck boards will hold up. Make sure what’s underneath them will too.
Have questions about subframe specs for your project? Contact our sales team — we can advise on the right setup for your climate and load type.
Mistake 6 — Skipping Board Acclimation
Boards in a delivery truck or warehouse sit at a different temperature than your job site. Install them without acclimation and they’ll expand once they warm up — after the clips are already set. Install them on a hot summer afternoon and they may contract by morning.
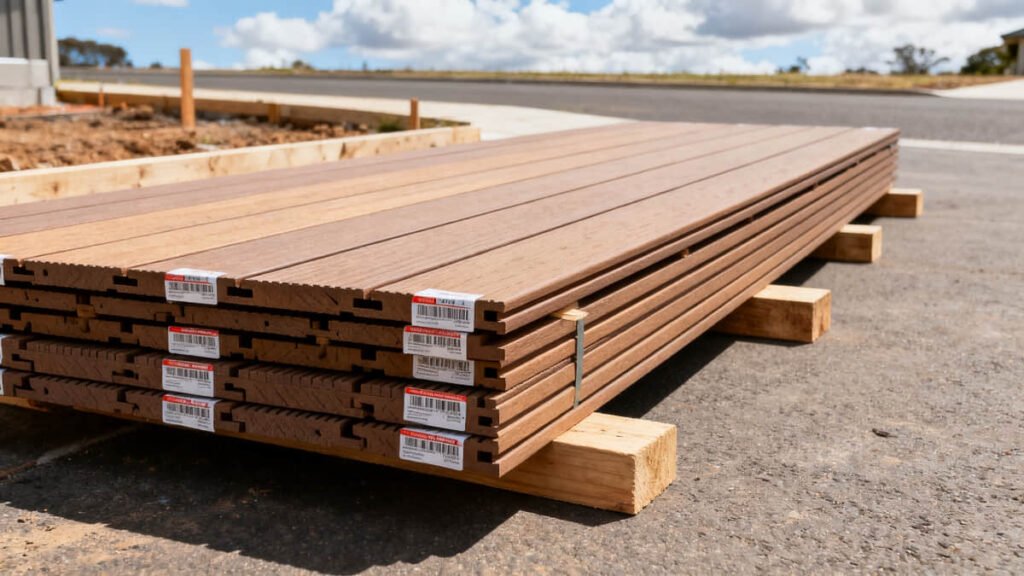
The rule is simple: let boards sit on-site for at least 24 hours before cutting and installing. This lets them adjust to local conditions before you lock them in.
Temperature changes on site are bigger than they look. In Sun Belt states, boards from a cooled delivery truck can be much colder than ambient site temperature. In northern states, a spring build can put cold boards onto a warm, sunny subframe. Both cases create expansion problems that gaps alone won’t fully cover.
Acclimation costs you a day. Skipping it can cost you the job.
Mistake 7 — A Weak or Wrong Subframe
Composite boards are only as good as what’s under them. The best deck boards won’t fix a bad subframe.
Common errors include undersized joists, wood not rated for the environment, and building over existing framing that’s already showing wear. Any of these cuts the life of the whole deck.
In high-moisture areas — coastal markets, pool surrounds, the Pacific Northwest — pressure-treated lumber alone may not be enough. Steel joists or composite subframe materials are worth considering for those projects.
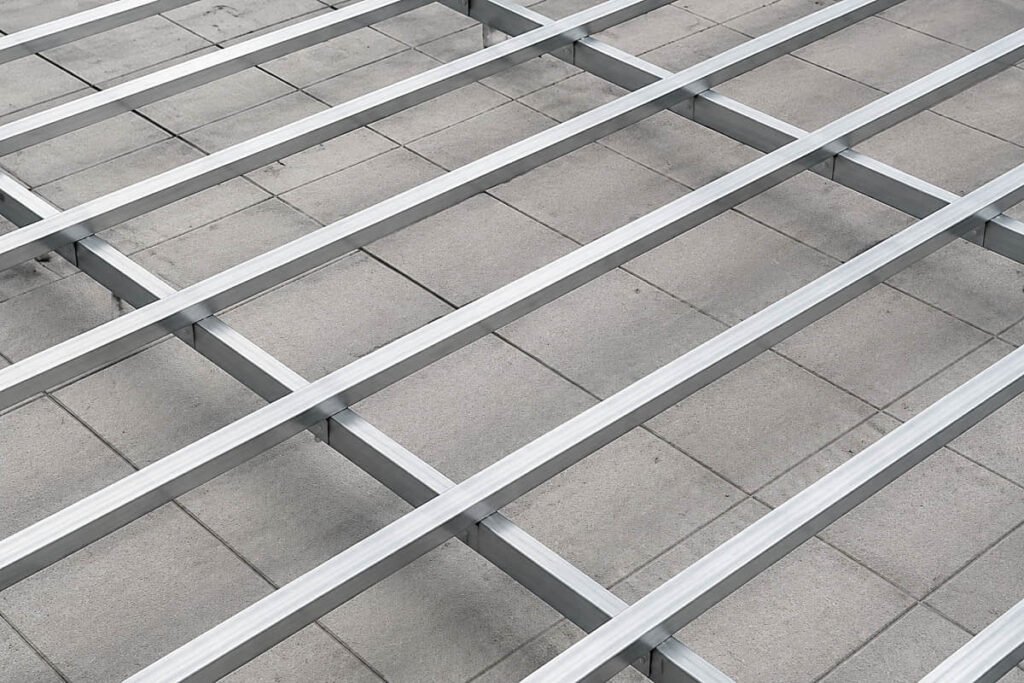
Before you lay any boards, check the subframe for these:
- Is the lumber rated for ground contact or high-moisture exposure?
- Are existing joists level, solid, and rot-free?
- Does the framing meet the live load requirements for your project type?
- Does it meet IRC requirements for residential decks, or IBC for commercial builds?
A failed subframe is a structural issue, not a board issue. It’s not covered under the product warranty. Get the framing right first.
Mistake 8 — Leaving Cut Ends Exposed
Every time you cut a board on site, you remove the factory cap layer from that edge. That’s the 0.8 mm protective layer — on all four sides — that makes composite decking boards moisture-resistant and UV-stable. Cutting through it removes that protection on the exposed edge.
Exposed cut ends soak up water. The core can swell over time, and the edge looks unfinished against the rest of the deck.
The fix is easy: cover every cut edge with matching end caps or fascia boards. This applies to board ends at the perimeter, stair stringers, and any board trimmed to fit around a post or obstruction.
Fascia boards do double duty. They finish the perimeter edge and add a clean look to the outdoor living space. Don’t skip them.
Want to see how the full system looks finished? Request free samples — we’ll send board and fascia samples so you can check fit and color match before ordering.
Mistake 9 — Installing Composite Like It’s Wood
Most of the mistakes above share a root cause. Crews with years of wood experience apply those same habits to composite decking — wider joist spacing, face screws, no expansion gaps, no acclimation time. The product is different. The rules are different.
Composite isn’t hard to install. It’s just different from traditional wood decking.
Here’s how the two compare:
| Installation Factor | Traditional Wood Decking | Composite Decking |
|---|---|---|
| Joist spacing | 16″–24″ o.c. | 12″–14″ o.c. |
| Fastener type | Face screws | Hidden clip fasteners |
| End-to-end gap | Minimal | 5–8 mm (3/16″–5/16″) |
| Board acclimation | Optional | 24 hours on-site |
| Cut end treatment | Paint or stain | End caps / fascia boards |
| Upkeep | Annual staining and sealing | Occasional cleaning; no staining or sealing needed |
Get these six things right and composite delivers on its promise — a long-lasting, low-maintenance outdoor deck that holds its look for years.
Ready to go step by step? Our composite decking installation guide walks through the full process — framing, fasteners, gapping, and finishing.
The 15-year warranty applies when the product is installed correctly. Improper installation voids coverage.
Buying direct from the manufacturer means you get proper installation guidance alongside the product — not just a pallet of boards with a spec sheet. That’s how we work with every trade partner.
For distributors building a composite decking program, getting installation right from day one protects your reputation and cuts returns. Talk to our team about how we support trade partners beyond the sale.
Check the Full Product Catalog to see all composite decking profiles, dimensions, and available colors.
Frequently Asked Questions
Can bad installation void my composite deck warranty?
Yes — and it’s one of the most common reasons warranty claims get denied. The 15-year warranty covers normal use conditions. Damage caused by wrong joist spacing, incorrect fasteners, or missing expansion gaps is not covered.
When is the best time to install composite decking?
Spring and fall are ideal — mild temperatures mean boards arrive close to their installed size and acclimate quickly. Avoid extreme heat or cold when you can. Whatever the season, let boards sit on-site for at least 24 hours before cutting.
Can composite decking be installed directly on soil?
No. Composite boards need a proper subframe with clearance above grade for drainage and air circulation. Boards at ground level trap moisture against the framing. The boards hold up fine — the structure underneath won’t.
Can installation mistakes be fixed after the deck is done?
Some can. Wrong fasteners or missing end caps can be corrected without a full tear-out. Structural problems — like incorrect joist spacing — usually mean pulling the boards and re-framing. Catching errors before laying boards saves time and cost.
Do I need special tools to install composite decking?
No. Standard carpentry tools handle the job — circular saw, drill, tape measure, chalk line. The right tools for composite decking installation are the same ones you already use for wood. The hidden clip fastener system doesn’t need any proprietary tools, and clips come with board orders.