

A clean deck surface needs more than a box of clips. It needs the right board profile, a straight frame, and a fastening plan that covers the field, edges, and stairs.
Most composite decks use more than one fastening method. Grooved boards in the main field take hidden clips. Picture frames, last boards, and stair treads often need plugs or face screws.
Good crews decide that before the first board goes down. It keeps the install moving and makes the takeoff more accurate.
What Are Hidden Deck Fasteners?
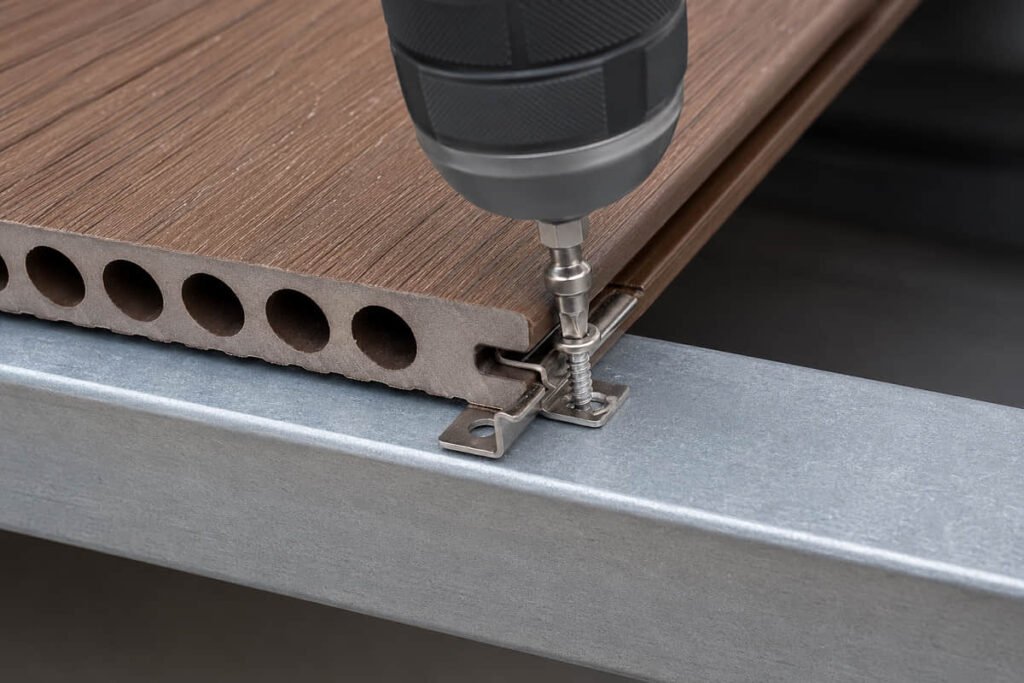
Hidden deck fasteners secure decking boards without leaving screw heads across the walking surface. Most systems use clips that slide into grooves along the board edge. The clip then fastens to each joist.
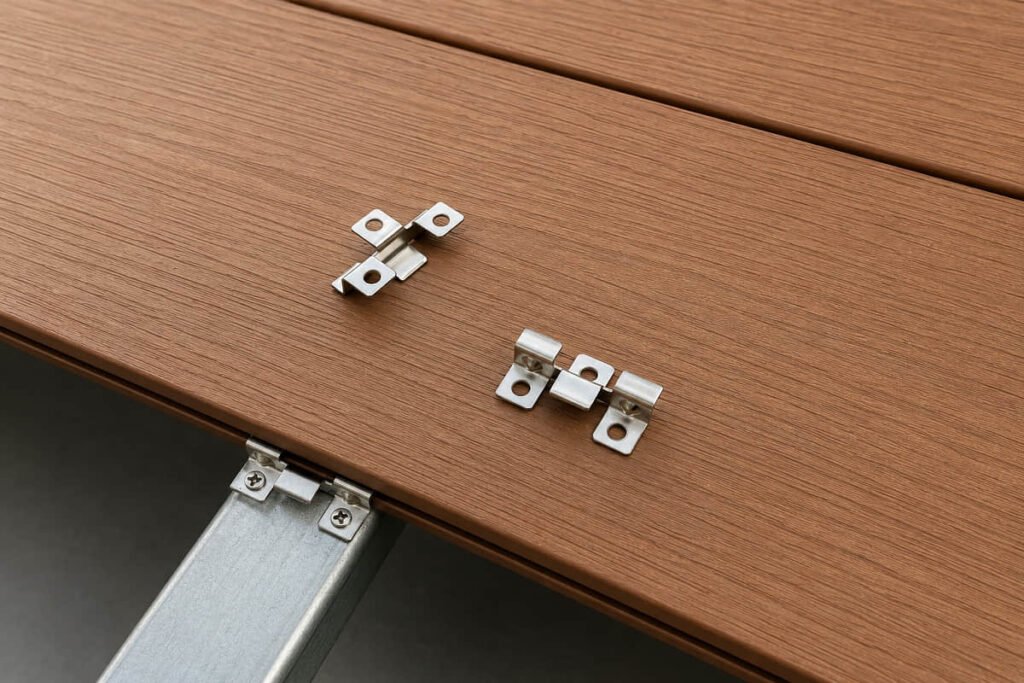
The next board covers the clip. That gives the deck surface a clean look and holds side-to-side spacing steady.
Plug systems are different. You drive a face screw through the board, then press a color-matched plug into the recess. The screw is concealed, but it still enters through the board face.
Why Use Hidden Fasteners?
Hidden fasteners for composite decking give builders a clean finish and a repeatable installation pattern. They work best in the main field of grooved deck boards.
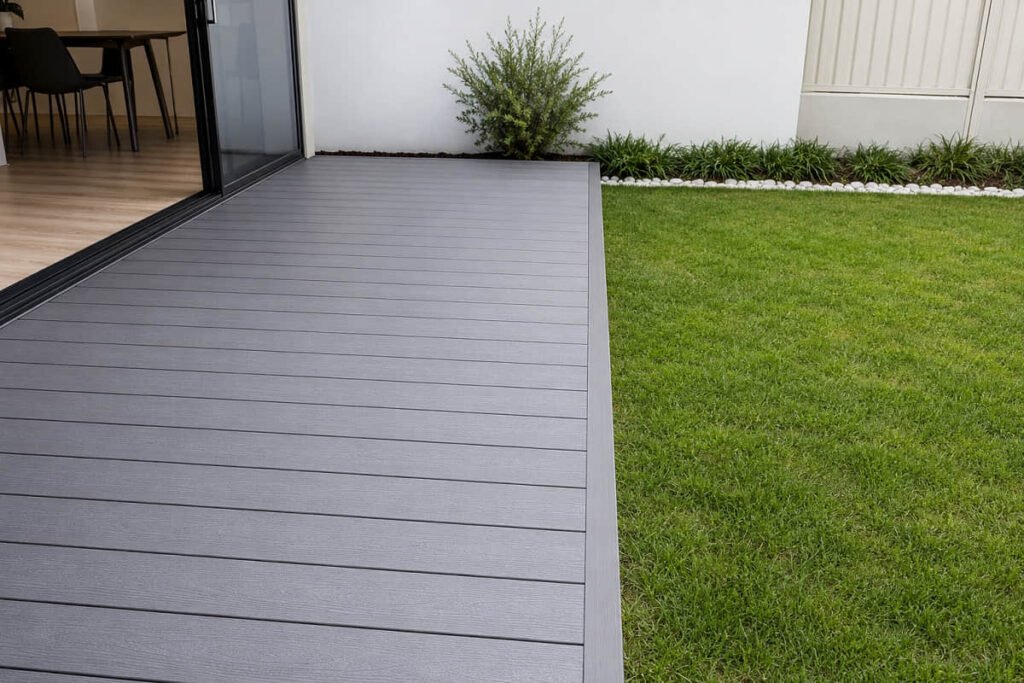
The benefits are practical:
- No visible screw heads across the main deck surface.
- Consistent spacing because the clip sets the side gap.
- Fast field installation on straight, well-framed deck runs.
- A cleaner handoff for pool decks, hospitality work, and high-visibility home projects.
There is a limit. A clip system does not replace the fasteners needed for every edge detail. It also cannot correct twisted joists, poor drainage, or wrong joist spacing.
Choose the Right System
Start with the board edge. Grooved composite boards can accept a compatible hidden fastener system. Square-edge boards usually need plugs or color-matched composite deck screws.
Then check the layout. The main deck field may use clips, while borders, stairs, fascia, and butt joints need a separate detail. Always use the current manufacturer installation guide. A clip that fits one groove may not fit another board profile or protect its warranty.
| Project condition | Recommended fastening method | What to confirm |
|---|---|---|
| Grooved boards in the main field | Hidden clips | Clip-to-groove fit and one clip at each joist |
| First board | Starter clips or approved edge fastening | Straight starter line and board support |
| Picture frame or last board | Plugs or face screws | Approved screw pattern and board edge clearance |
| Stairs | Plugs or approved face screws | Tread fastening detail and local code needs |
| Butt joint or breaker board | Approved joint detail or dedicated clip | Blocking, board-end gap, and support |
| Fascia | Fascia screws and plugs | Fastener spacing and thermal movement guidance |
Grooved Board Clips
Hidden clips are the best fit for grooved composite decking across an open deck field. Slide the clip into the side groove, drive the approved screw into the joist, then seat the next board.
Each clip holds a board at the joist and creates even spacing. LastElegance supplies stainless steel clips with grooved board orders. Use the approved clip and screw together, since mixing hardware can affect fit and warranty coverage.
Clips save time in open fields. They do not make up for framing that is out of plane.
Plugs and Face Screws
Plugs and face screws work where clips cannot. Use them for picture frames, breaker boards, stair treads, and the last board against a wall or perimeter.
A plug system hides the face screw with a matching cap. Color-matched screws install faster, but they remain visible at close range. Both methods can give a neat finish when crews follow the approved pattern.
| Method | Best use | Finish | Labor |
|---|---|---|---|
| Hidden clips | Grooved board field | No surface screws | Fast in open fields |
| Plug system | Borders and stair details | Near-hidden screw | Higher |
| Color-matched face screws | Simple edges and budget-led work | Low-visibility screw | Lower |
What Should You Check Before You Order?
Do not order deck fasteners by square footage alone. The board profile and the number of edge details drive the final takeoff.
Use this checklist before requesting a quote:
- Confirm the board profile: grooved, square-edge, solid, or hollow.
- Measure the main field, borders, stairs, fascia, and breaker boards separately.
- Confirm joist spacing, board direction, and any diagonal layout.
- Count starter rows, last boards, butt joints, and transitions.
- Match each detail to clips, plugs, face screws, or an approved joint detail.
- Add waste and spare fasteners for cuts, changes, and site damage.
- Confirm the current installation guide, warranty terms, packaging, and lead time.
This process avoids a common jobsite problem: the clipped field is complete, but the crew lacks the right fasteners for the final 10 percent of the deck.
Need a system check before you order? View product specs and match the board, clips, and framing plan.
Install Clips the Right Way
Hidden fasteners cannot fix uneven framing or incorrect joist spacing. Check the frame first, set the first board straight, and fasten every clip at its joist.
- Inspect joists for high spots, twist, loose blocking, and uneven spacing.
- Complete joist protection, flashing, and drainage details before boards go down.
- Set the first board straight with starter clips or the approved edge method.
- Slide a hidden clip into the groove at every joist.
- Drive the approved screw snug. Do not overdrive or crush the clip.
- Seat the next board, then check the line before fastening the next row.
- Keep board-end gaps within the manufacturer guidance for site temperature.
The IRC or IBC, plus local code, controls the structural parts of a deck project. The product installation guide controls the board and fastener details. You need to meet both.
Check the Frame First
Look down every joist before you unload the decking boards. Check for crowns, high spots, twist, and missed blocking. Fixing those problems after the boards are clipped in takes far longer.
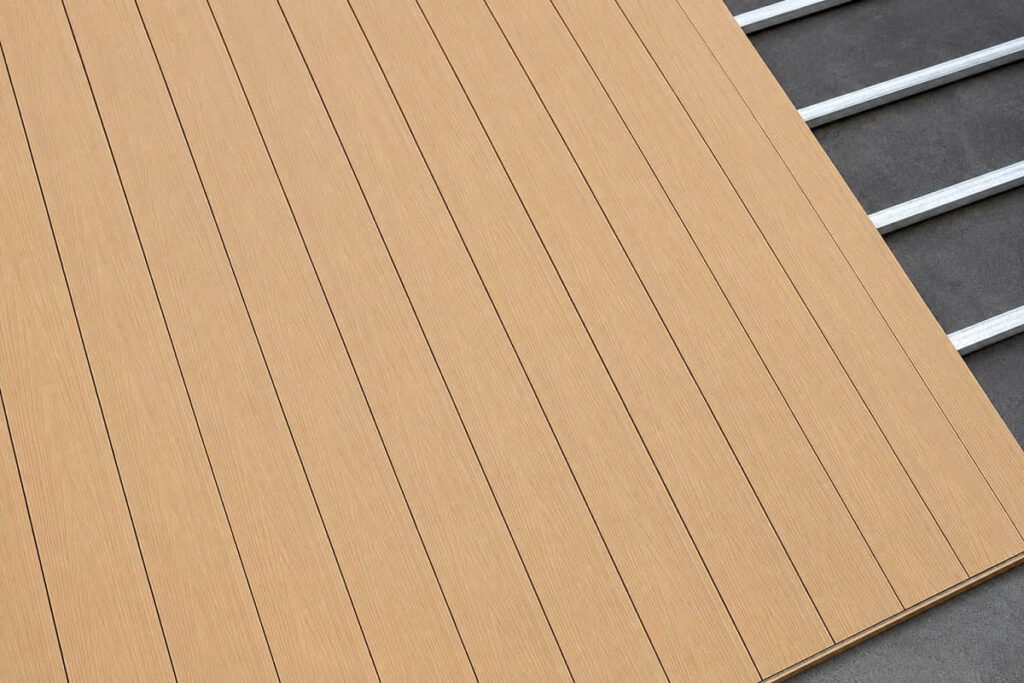
LastElegance recommends 11.8 inch on-center joist spacing, based on board profile and use. Local code and project loads still control. Confirm the final layout before installation, especially for diagonal boards or busy commercial walkways.
A flat, well-blocked frame keeps the final deck lines cleaner. It also makes clip installation faster.
Allow for Board Movement
Composite boards expand and contract as temperatures shift. Clips help keep side spacing steady, but they do not remove the need for end gaps.
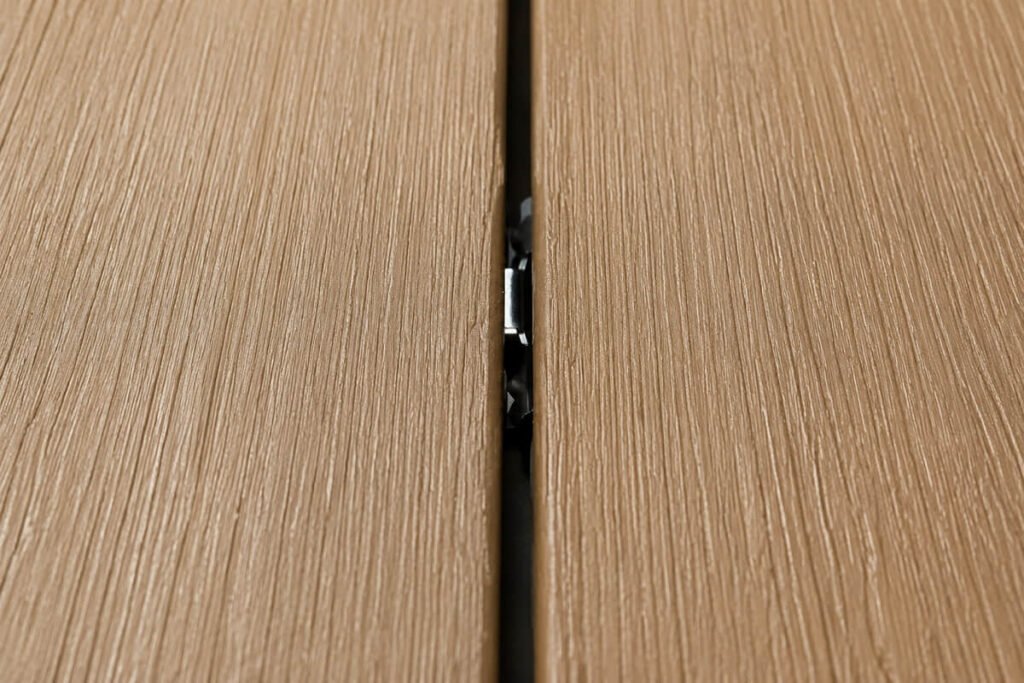
For LastElegance boards, allow about 3/16–5/16 inch at board ends. The exact gap depends on board length and jobsite temperature. Let boards acclimate at the site for at least 24 hours, then follow the product guide.
Do not force board ends tight. Seasonal movement needs somewhere to go.
Cost, Speed, and Value
The lowest-priced deck fasteners are not always the lowest-cost choice. A system that does not match the board or layout can add labor, waste, and rework.
Take a 400 sq ft deck with a grooved main field, picture-frame border, and two stair treads. Clips cover most of the field. The border and stairs need plugs or face screws, plus starter clips and spare fasteners for cuts.
| Fastening method | Material cost | Field speed | Best value on |
|---|---|---|---|
| Hidden clips | Mid-range | Fast | Large grooved board fields |
| Plugs | Higher | Slower | Premium borders and stair details |
| Color-matched screws | Lower | Moderate | Simple edges and budget-led jobs |
Missing edge fasteners can leave a crew short near the end of the job. A complete takeoff costs less than an extra trip or delayed handoff.
Also think about future service. If a project may need single-board replacement, confirm the system’s approved removal process before installation. Not every clip layout offers the same access.
LastElegance makes its composite decking and supplies matching stainless steel clips directly.
Request a custom quote with your layout and estimated square footage.
FAQs
Should I Use Hidden Fasteners On Composite Decking?
Use hidden fasteners for grooved composite decking in the main field when the clip is approved for the board profile. Plan plugs or face screws for edges, stairs, and square-edge boards.
Are Hidden Deck Fasteners Stronger Or More Durable Than Traditional Screws For Composite Decks?
The right fastener is designed for its board groove and joist layout. Do not assume hidden clips are stronger than face screws; use the manufacturer-approved system and installation guide.
Can I Add Clips to Old Boards?
Maybe. Existing boards need compatible side grooves and good condition. If they do not, plugs or face screws may be the better repair choice.
What Tools Do I Need To Install Hidden Fasteners On Composite Decking?
You need a drill or driver, the correct bit, approved clips and screws, starter clips, a tape measure, and the board maker’s guide. Add an approved installation tool only if it matches your fastening system.