

The fence looks fine on day one. Posts are plumb, panels seat clean, clips hold. Six months later, a client calls. Boards are bowing. Gaps opened where they shouldn’t. A clip pulled loose. The install crew is long gone — but the problem lands back on you.
Composite fails differently than wood. Wood shows problems fast: a split board, a loose nail. Composite holds its shape for months. Then it gives way all at once — when thermal pressure builds or drainage backs up at a post base. Most failures trace back to decisions made before the first panel went in: post spacing, expansion gaps, footing depth. By the time symptoms appear, those decisions are locked in concrete.
This guide covers seven mistakes that cause composite fence failures on U.S. job sites. Each one drives warranty denials, rework costs, or damaged client relationships. And every one happens before the panels go up.
Composite Fencing Isn’t Installed Like Wood
Wood gives you room to adjust. You can trim a board on-site, force a slightly tight fit, or shim a post. Composite fence panels don’t work that way.
Composite materials — a blend of wood fibers and HDPE — expand at a different rate than timber. The fence system runs on fixed channel tolerances and set expansion gaps. None of that is adjustable once posts are in concrete.
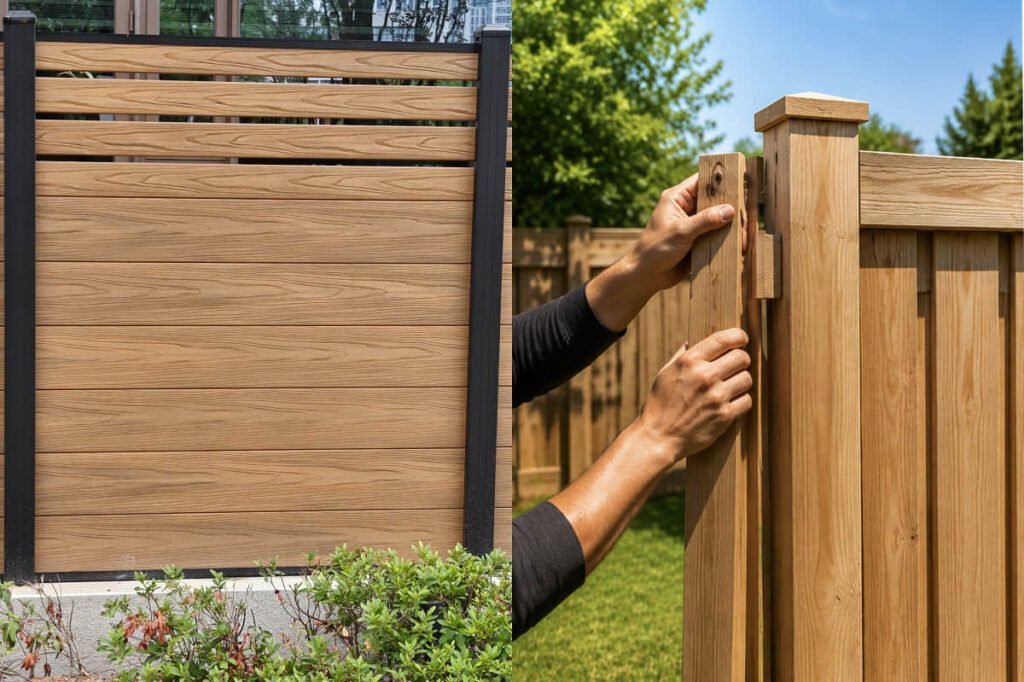
Co-extruded boards also carry an outer cap layer with tight dimensional specs. That cap layer protects the core from water and UV — and it means every panel must seat correctly in the post channel. If the fit is off, the cap can bind, crack, or pull.
Most installation problems come from crews who apply traditional wood fencing habits to a different material. The seven common mistakes below are the ones we see most often.
➜ For the full installation steps, see our guide: how to install composite fencing.
Before You Start: Checks That Matter
Pre-install prep is where most composite fence installation problems begin. Two checks protect the job, the buyer, and the warranty.
Call 811, Confirm Permits, and Check Height Limits
In the U.S., call 811 at least 3 business days before you drill holes — it’s free, required by federal law, and utility locates are usually done within 2–3 business days. At the same time, confirm local permit requirements. Most municipalities cap residential fencing at 6 ft in rear yards and 4 ft in front yards. Commercial properties often need a building permit for any permanent fence installation. Height restrictions can change your panel count — finding that out after delivery is a costly mistake.
Read the Manufacturer’s Guide Before Buying Materials
This is the first step installers skip most often. A crew assumes they know the post spacing, orders materials, starts digging — then finds the actual system dimensions are different.
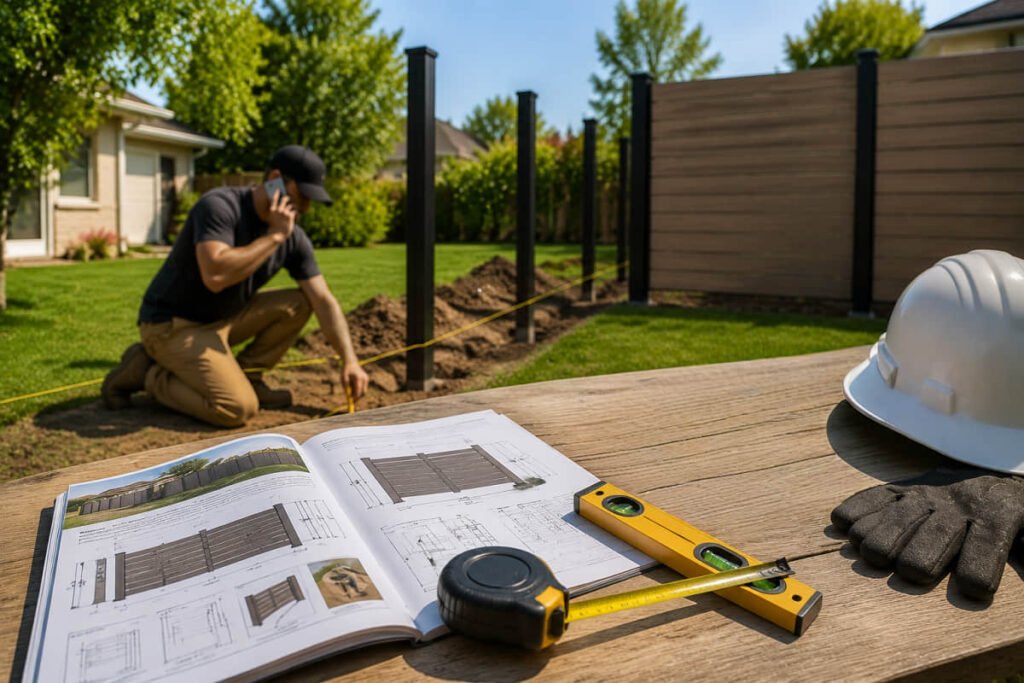
The manufacturer’s guide sets the real numbers: post center spacing, channel depth, board-to-post tolerances, and drainage clearance. Skip it and you may order the wrong quantities or dig posts in the wrong spots. Errors locked in concrete cost real money to fix.
Mistake #1 — Rushing the Layout and Fence Line
A clean install starts on paper, not in the ground. Plot the full fence line first: corners, gate openings, post locations, and panel runs. Then measure the whole area and compare it to the actual panel dimensions — don’t round up or estimate.
A simple layout sequence that prevents most alignment problems:
- Mark your fence line with stakes and a string line before any digging.
- Measure the full run from end to end.
- Plan post positions against the system’s actual panel width — not a round number.
- Flag gate openings and corner posts before confirming quantities.
- Finalize your material order only after all fence board and post locations are mapped.
Staking out post positions this way means no surprises when panels go in. Batter boards and string lines keep the fence line straight on longer runs.
Mistake #2 — Setting Posts Before Confirming Panel Spacing
Some crews dig and set all posts first, then try to fit the panels. If post spacing is off by even an inch, that error is now buried in concrete.
The right sequence runs the other way. Start with the real system dimensions — the actual rail length, composite fence panel width, and channel depth. Then mark post centers from those numbers.
Our composite fencing systems support proper spacing from 32″ to 63″ on center (0.8 m–1.6 m). In high-wind zones like Florida or the Gulf Coast, use the tighter end of that range — 32″–40″ — for better structural stability. At corners and the end of the run, post placement needs extra care. A corner that’s off by an inch throws everything past it out of line.
Dry-fit the system components on flat ground to confirm spacing before any posts are set.
If you’re using aluminum posts, confirm the channel dimensions match your composite fence panels. Off-system posts create fit problems that are hard to fix later.
Mistake #3 — Posts Set Too Shallow or Not Concreted
Shallow posts are the most common structural failure in composite fence installation. The fix is simple — every post must go deep enough, and every post must be set in concrete.

In cold climates, posts that don’t reach below the frost line will heave in winter and shift for good. That’s not a repair — it’s a rebuild. Your local building department can confirm the frost depth for your area before you dig.
Add 3–4 inches of gravel at the base of each post hole. Gravel pulls water away from the post and reduces ground contact over time. Pour concrete and slope the top away from the post — pooling water at the base is a long-term maintenance problem.
Don’t attach fence panels until the concrete fully sets — at least 24–48 hours for fast-setting mix, longer for standard concrete.
How Deep Should Composite Fence Posts Go?
Posts should go at least one-third of their total length into the ground. A 9 ft post needs a minimum of 3 ft below grade. In colder U.S. climates — the upper Midwest, New England, and similar zones — frost depth can reach 48–60 inches. Always go below the local frost line, not just to the standard minimum. Contact your local building department to confirm the frost depth before you dig.
Mistake #4 — Leaving No Room for Thermal Expansion
All composite materials move with temperature changes — including co-extruded boards with a full four-sided cap layer. LastElegance’s 0.8 mm cap layer improves dimensional stability compared to uncapped boards, but thermal movement still occurs and must be planned for.
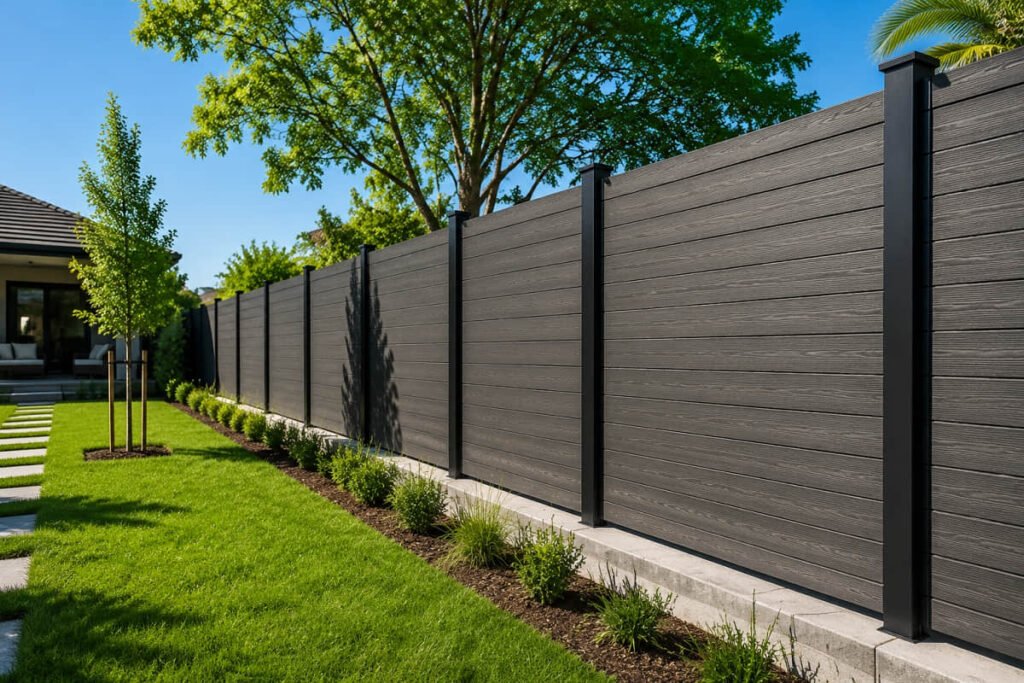
A fence in the Sun Belt — Phoenix, Houston, Miami — faces temperature swings of 40°F or more across seasons. Chicago or Minneapolis adds hard freezes to that range. In both cases, if fence boards are packed tight in the post channels, they have nowhere to go. The result: bowing, binding, and gaps in the wrong places.
Follow the manufacturer’s expansion gap spec — not a guess. For our composite fence panels, the clip system handles side-to-side spacing. End gaps need to be set deliberately at install. Let boards acclimate to ambient site temperature for at least 24 hours before fitting.
On long runs, thermal pressure across 20+ fence boards adds up fast.
Mistake #5 — Treating Uneven Ground Like Flat Ground
Most U.S. job sites aren’t flat. Planning a composite fence on a slope is not the same as planning for level ground — and it must happen before posts go in.
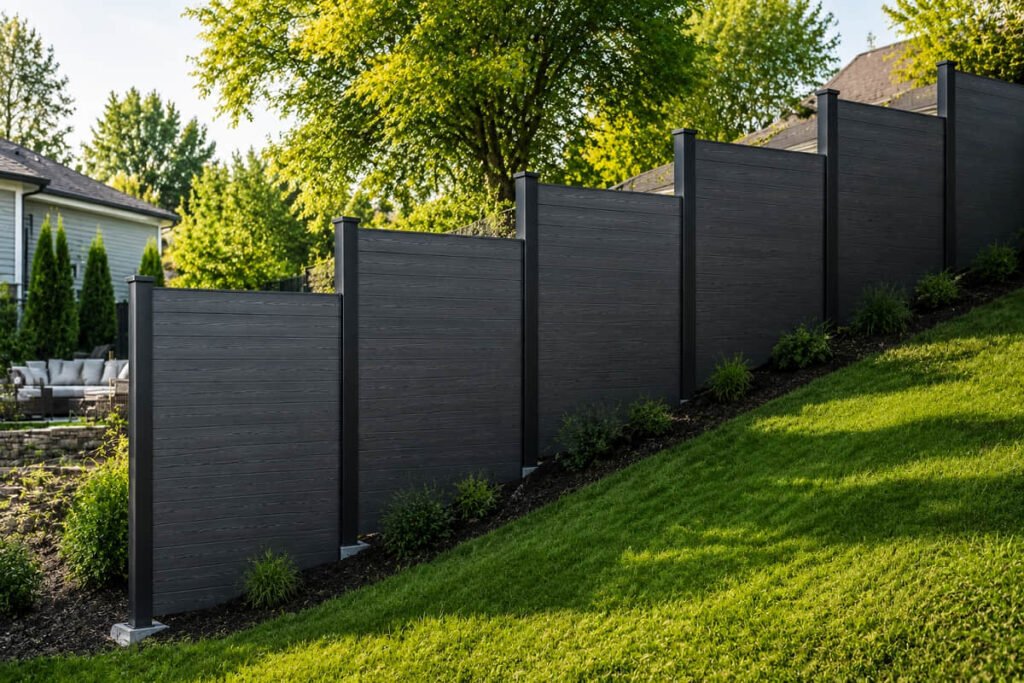
Two main approaches for sloped fence lines:
- Stepping: The fence drops in flat increments, like stairs. Each panel run stays level; posts step down the slope. This is the most common method for composite systems and the easiest to plan.
- Raking: The fence follows the grade continuously. Not all composite fencing systems support a true rake — check the product spec before assuming your panels can rake.
The mistake is applying a flat-ground layout to a slope and trying to correct it after posts are set. Survey the whole area first and plan post positions around the slope. Stepping also needs extra panel pieces for the riser sections — account for those in your material order.
Keep string lines up until the last post is in. On uneven ground, they’re the only way to keep the fence line true and get a professional finish.
Mistake #6 — Using Third-Party Parts or the Wrong Fasteners
Composite fencing is a matched system. The posts, clips, rails, and panels are designed to work together. Using generic hardware store fasteners, off-brand clips, or non-system trim creates fit problems — and typically voids the warranty.
This matters most for procurement buyers ordering at volume. Sourcing clips or post caps from a second supplier to save cost can cancel those savings if a warranty claim gets denied for using non-system components. On multi-site projects, confirm all hardware comes from the same product generation. Mixing batches from different orders is a common source of fit problems.
LastElegance composite fence systems ship as a complete fencing kit: stainless steel clips, angle brackets, post caps, post skirts, and trim are all included. Warranty coverage depends on using these matched components, as stated in the product warranty terms.
Both aluminum posts and WPC (wood-plastic composite) fence posts are valid options — but each must match the panel system’s channel dimensions. Confirm post type before placing your order.
Mistake #7 — Ignoring Bottom Clearance and Drainage
Composite is waterproof. Our panels absorb just 0.2% water per ASTM D1037 — the board itself isn’t the problem. The problem is what builds up at the base when fence boards sit too close to the ground.
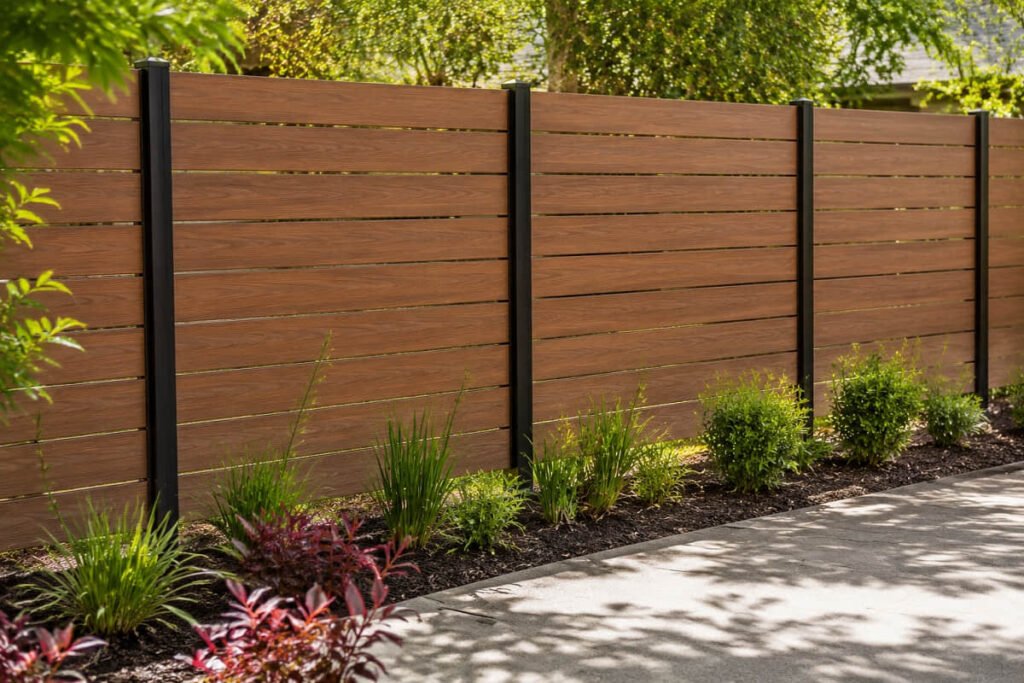
Mulch, soil, and organic debris trap moisture against the post base and the bottom rail. Over time, that buildup is hard to clean and looks bad. It takes away the low maintenance advantage that makes composite a top choice for long-term projects.
Plan bottom clearance before posts go in. Once posts are set, raising the rail height means pulling and resetting them. Keep the bottom rail off ground level — a small gap lets the area drain — and slope the ground away from every post base.
Also check for direct water sources before install: sprinkler heads aimed at the fence base, or concrete drainage running toward posts. Rerouting those is far easier now. And when cleaning is needed, mild soap and water do the job — harsh chemicals can damage the cap layer and may affect your warranty coverage.
FAQ
Do composite fence posts always have to be set in concrete?
Yes — any permanent composite fence installation requires concrete. Posts set without it will shift over time, especially in clay or sandy soils. The only exception is a decorative screen using manufacturer-approved surface-mount hardware built for that purpose.
What weather should I avoid during the installation process?
Don’t pour concrete when the ground temperature is below freezing — it won’t cure properly. Avoid pouring in heavy rain, which dilutes the mix and weakens the set. Boards should also acclimate to ambient site temperature for at least 24 hours before installation.
Can I fix alignment problems after panels are in?
Minor panel alignment issues can sometimes be corrected before the concrete fully sets. Once posts are cured and panels are clipped in, fixing structural misalignment usually means pulling and resetting posts — expensive and time-consuming. That’s why the layout and post work must be right before a single panel goes in.
Does composite fencing cost more to install than wood?
The higher upfront cost is real — composite runs more per linear foot than pressure-treated pine or cedar. Average installation costs are similar to wood when labor rates are factored in. The real difference is long-term: no painting, sealing, or staining, and far less maintenance over the life of the fence.
What tools or materials do installers most often forget?
The most commonly missed items are a string line and level for post alignment, a tamping tool for compacting gravel at the post base, and enough concrete for every post hole — easy to underestimate. Confirm the full accessory list — post caps, trim strips, and clips — before delivery day so nothing is missing on site.
Does skipping the manufacturer’s guide void the warranty?
Yes. LastElegance’s 15-year warranty — like most composite fencing warranties — is conditional on following the installation guide. Using non-system fasteners, skipping the correct post depth, or failing to allow proper expansion gaps can all be grounds for a claim denial.
Composite fencing rewards precision. Most common problems aren’t caused by the material — they’re caused by treating it like a wood fence job. Plan the layout first, follow the system specs, and a professional installation goes cleanly with far fewer callbacks.
Ready to move forward? Request free samples or talk to our team about your next project. Also planning a deck? See how composite fencing compares to wood.