

A composite screening panel that bows within months of going up. A warranty claim was knocked back over a missed expansion gap. On a single job, that’s a headache. Across a forty-lot subdivision, it’s a different problem — replaced boards, site revisits, and warranty claims that don’t hold up.
These are the calls our technical team fields every week. Almost all of them trace back to one of seven installation mistakes. Most are easy to avoid once you know what to look for.
If you’re buying or specifying composite screening in volume, these errors cost you long after the crew’s moved on. Most share one root cause: treating composite like timber. The two materials don’t move, cut, or fix the same way — and that’s where the expensive habits start.
Mistake 1 — No Expansion Gaps in the Boards
Composite boards expand and contract with temperature changes. Leave no gap at the ends, and the boards have nowhere to go. They buckle, warp, or push hard against post channels.
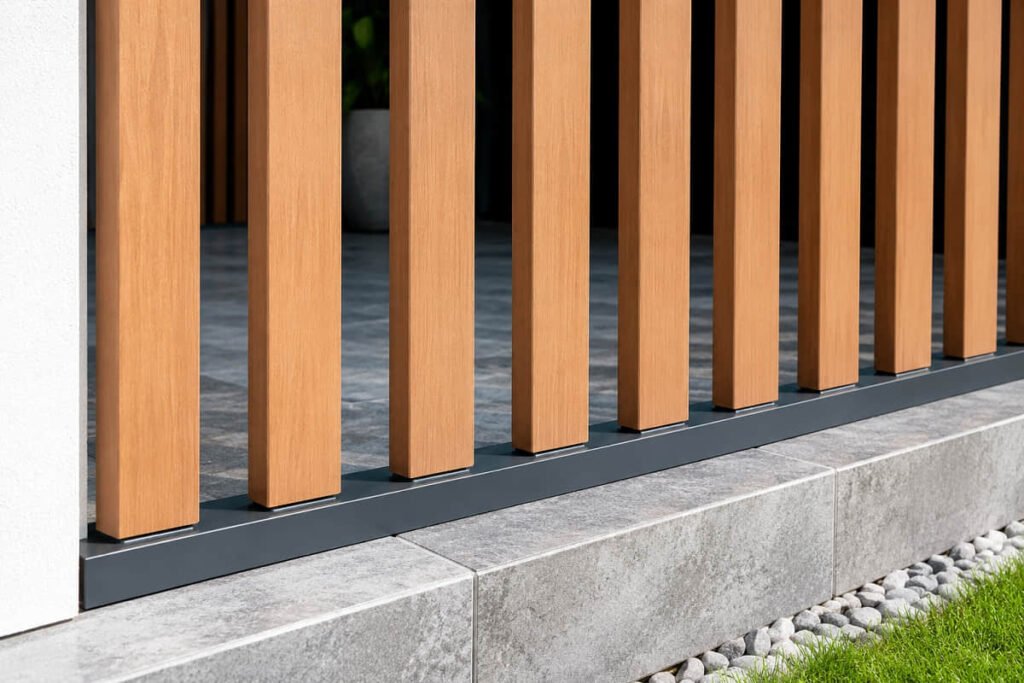
The standard end gap for composite screening boards is 3–5 mm. Check the product installation guide for the exact figure — the exact figure varies across our three composite screening profiles. Use spacers to keep the gap consistent across long runs.
This matters more in Australia than in most markets. Extreme UV and big seasonal temperature swings put real stress on boards installed too tightly. A board fitted hard against a post in winter will press firmly against it by midsummer — and something has to give.
Our installers in Western Sydney and South-East Queensland flag this as the most common fault on jobs converted from timber. Timber shrinks over time. Composite expands with heat. The same instinct that works fine with treated pine causes real problems with composite screening and composite decking alike.
Mistake 2 — Post Spacing Too Wide
Spreading posts further apart to save on material is one of the most common mistakes on composite screening jobs — our technical team fields this question on close to one in five installation calls. Boards sag in the middle over time, especially in the heat. Wide spacing also cuts wind load resistance, which is a real structural concern in coastal and open areas across Australia.
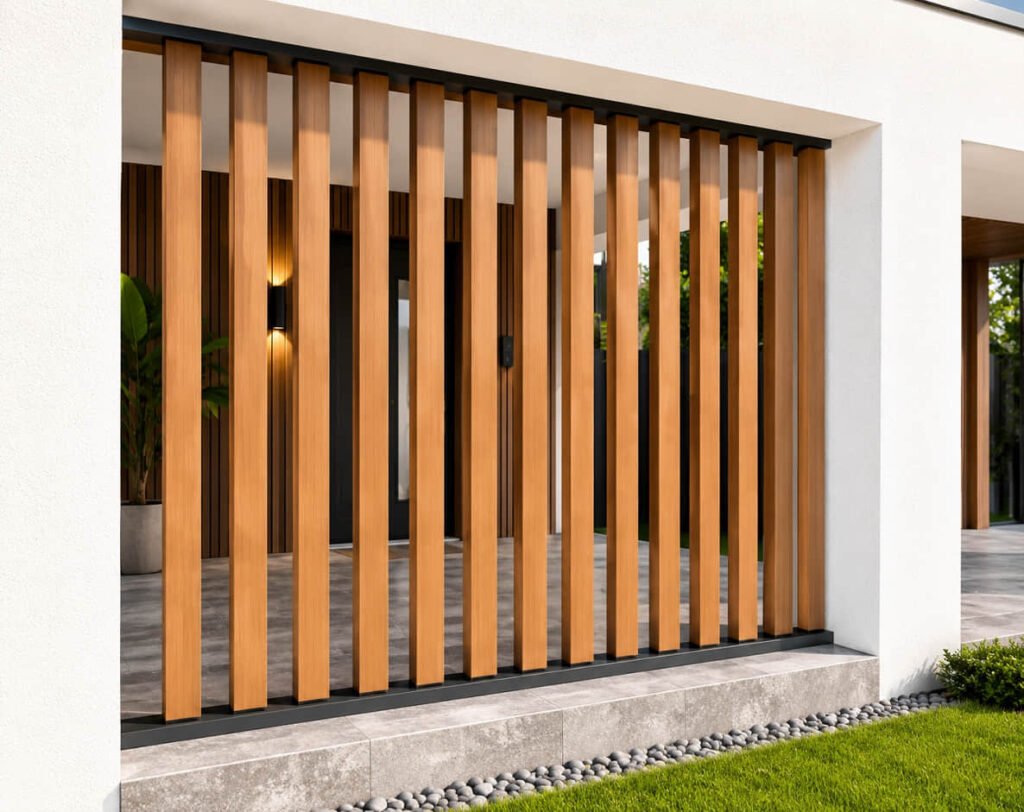
The correct post spacing for composite screening is 0.8 m to 1.4 m centre-to-centre. It must not exceed 1.6 m.
| Scenario | Recommended Post Spacing |
|---|---|
| Standard installation | 0.8 m – 1.4 m |
| Coastal / high wind exposure | 0.8 m – 1.2 m |
| Absolute maximum | 1.6 m |
Some generic WPC installation guides online suggest up to 1.8 m for Vista composite screening slat. That figure is too wide for composite screening boards and will cause structural issues over time. Always use the product-specific spec sheet, not a generic composite fence guide.
The same logic applies to composite decking joist spacing — think of posts as the joists for your fence. Get the spacing right, and the structure holds. Get it wrong, and the whole fence system is compromised, regardless of board quality.
Local councils also set their own rules for fence height and post fixing. Check the NCC and your local regulations before you start.
Mistake 3 — Skipping Site Prep and Drainage
Composite screening is moisture-resistant — but that’s not the same as waterproof. Standing water around post bases causes ground movement, and unstable posts mean unstable fence panels. Poor drainage is one of the most common causes of post failure. It also falls outside warranty cover, because it’s an installation issue, not a product fault.
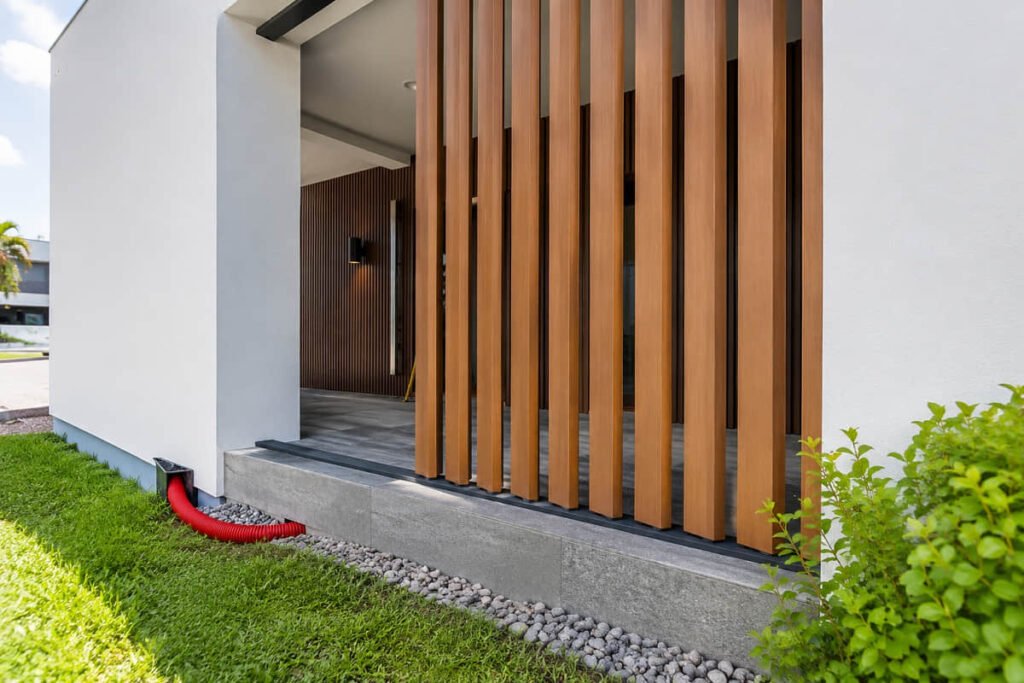
Two prep steps make a real difference:
- Gravel drainage layer in post holes. Before pouring concrete, lay a gravel base at the bottom of each post hole. This lets water drain away from the post base instead of pooling around it.
- Ground clearance under the boards. Keep a gap between the bottom of the screening boards and the soil or paving surface. This gives proper airflow and stops moisture from sitting against the board ends.
A solid foundation at this stage protects the whole structure. In coastal areas, there’s an extra reason to get it right: salt in the air speeds up ground erosion around post bases. Get the drainage right before the posts go in, and the fence stands solid for years. Get it wrong, and even the best composite boards won’t save you.
Mistake 4 — Using the Wrong Fasteners
Many builders assume standard galvanised screws are fine for outdoor composite work. They’re not. Salt air and moisture corrode galvanised screws within a few years. That leaves rust stains on the boards and fastener heads that snap when you try to remove them.
The correct choice is 304 or 316 grade stainless steel. In coastal or high-humidity areas, 316 is the better pick.
For clip-fixed composite screening systems — including slot-in and clip-fixed profiles. The clip system keeps the board face free from screw holes, which removes most of the fastener risk from the main panel faces. Where screws are needed (trim strips, post fixings, screw-fixed profiles), pre-drilling is not optional.
Don’t skip the pilot hole. Composite boards are dense, close to hardwood in resistance. Driving screws in without pre-drilling splits the board or causes surface mushrooming around the screw hole, on both decking and screening. Both are non-warrantable installation errors.
Mistake 5 — Poor Cutting Technique
Composite boards cut like hardwood, and they need the right blade. A fine-tooth carbide blade is the correct choice. Don’t use a blade made for softwood. The teeth are too coarse and tear through the cap layer, leaving a ragged edge that catches moisture.
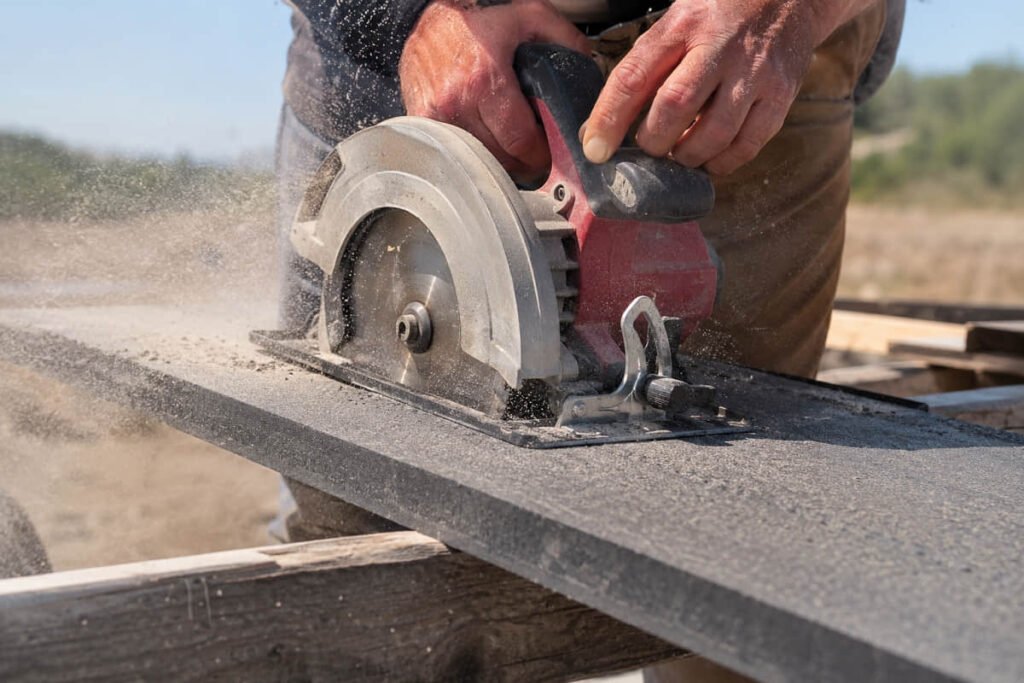
Two specific errors come up most often on the site:
- Wrong blade for the material. A coarse softwood blade doesn’t just leave a rough cut — it damages the cap layer. On LastElegance composite decking and screening boards, the cap layer is 0.8 mm thick. Tear through it, and the cut end is open to moisture.
- Cutting boards are too short. It’s easy to mark a board to fit snug and forget the expansion gap. Mark the cut with the gap built in from the start, not as an afterthought.
For hollow boards, apply steady, even pressure through the cut. Rushing causes the hollow profile to compress and deform at the cut end. Wider hollow profiles are especially prone to this if you push through too fast.
The same cutting rules apply across composite decking and screening panels — the approach doesn’t change.
Mistake 6 — Installing Boards the Wrong Way Round
Composite screening boards have a textured face and a smoother reverse side. Installing them backwards is an easy mistake, particularly when working quickly through a large batch of boards on a big job. Our distributors tell us it’s one of the most common return-to-site call-outs on large screening orders.
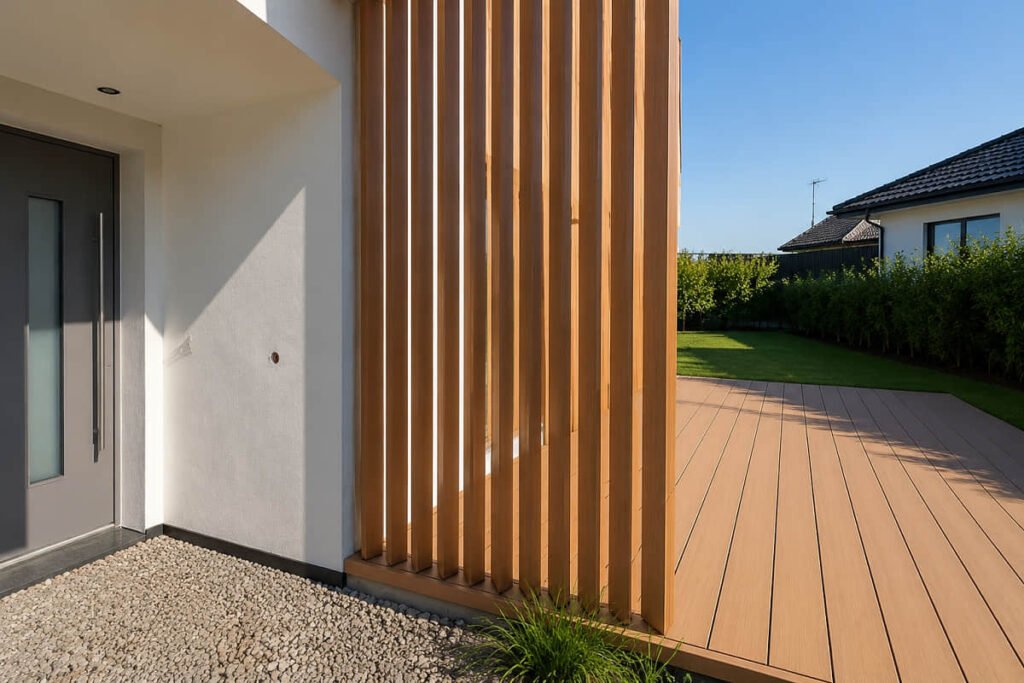
The consequences go beyond looks. The textured face channels water and gives slip resistance. Install it facing inward, and the visible surface doesn’t perform as it should. On clip-fixed profiles, the drainage groove or seating lip must also face the right way for the clip to seat properly. If it’s wrong, the clip won’t seat — so this mistake shows up at installation, not weeks later.
Before fixing, check the board edge for the drainage groove or clip-seating lip. Our installation guide shows the correct orientation for each profile. Check it before you start, not halfway through the job.
If boards are already fixed the wrong way round, they need to come off. There’s no fix for this once they’re in place.
Mistake 7 — Ignoring the Manufacturer’s Guide
The installation guide isn’t background reading — it’s the document that defines what the product warranty covers. Installs that depart from the guide fall outside the warranty terms. That’s not a grey area.
The three most common warranty-voiding errors:
- No expansion gaps — boards buckle or warp under heat; classed as installation damage, not a product fault
- Post spacing too wide — boards sag or panels shift; structural failure from the wrong spec, not covered
- Wrong fasteners — rust stains or board damage from corroded fixings; installation error, not product fault
For procurement managers and builders ordering in volume, this is a serious point. If a contractor installs incorrectly across a large project, there is no warranty recourse. The 20-year warranty applies only under correct installation and normal use. Repair costs from improper installation sit entirely with the builder.
You get the best performance from composite screening by reading the guide before work starts, not after something goes wrong.
Quick Checklist Before You Start
Use this as a job-site reference. Check every item before the boards go in.
| Check | Correct Approach |
|---|---|
| Expansion gaps | 3–5 mm end gaps; use spacers for consistency across long runs |
| Post spacing | 0.8–1.4 m centre-to-centre; absolute maximum 1.6 m |
| Site drainage | Gravel base in post holes; maintain ground clearance under boards |
| Fastener type | 304 or 316 stainless steel; stainless clips supplied for clip-fixed profiles |
| Cutting blade | Fine-tooth carbide blade; steady pressure on hollow boards |
| Board orientation | Textured face outward; clip groove correctly seated before fixing |
| Installation guide | Read it before starting — not after the job is done |
FAQ
Does composite screening need expansion gaps like composite decking?
Yes — the same principle applies to both. Composite materials expand with heat and contract in the cold. Leave a 3–5 mm end gap when installing, and use spacers to keep it consistent. Check the installation guide for the exact figure for your specific profile — it applies to composite screening boards and composite decking boards alike.
Can I install composite screening directly onto a wall or concrete?
No. Composite boards need room to expand and contract. Fixing boards directly to a solid wall without a subframe creates stress points that cause warping or cracking over time. A proper subframe — typically steel battens at 300–400 mm spacing — is required to allow natural movement.
What causes composite screening boards to warp?
The two most common causes are missing expansion gaps and post spacing that’s too wide. Both leave the boards under mechanical stress when temperatures rise. Poor drainage around post bases can also destabilise the structure over time, which leads to panel movement that looks like warping but is actually a foundation issue.
Are composite screening surfaces slippery when wet?
A properly installed composite screening board with a textured face (R11-rated slip resistance) is not slippery in wet conditions. Installing boards the wrong way round — textured face inward — removes that slip resistance from the outward-facing surface. This is one reason correct board orientation matters beyond looks.
Can I use a nail gun for composite screening?
No. Composite boards are as dense as hardwood and need pre-drilled pilot holes for any screw fixing. A nail gun won’t seat correctly and will damage the board surface. Use the correct stainless steel fixings and pre-drill at the right diameter for your profile — the installation guide specifies this.
How do I care for composite screening after it’s installed?
Composite screening is low maintenance. A regular rinse with water and mild detergent handles most dirt and marks. Avoid pressure washers on high settings — on lower-quality products, this can lift or scour the cap layer surface. At the recommended wash pressure, the boards are fine.
Does weather affect composite screening installation?
Yes. The temperature at the time of installation affects how much expansion gap to leave. Install in hot conditions, and you can leave a slightly smaller gap; install in cold conditions, leave the full 5 mm. Follow the temperature-zone guidance in your installation guide — this is a commonly skipped step that causes problems in Australian climates where seasonal temperature swings are significant.
Getting the installation right is the only way to get the full benefit from composite screening — for the finished job and for warranty cover. Every mistake above is avoidable with the right know-how before work starts.
For a full breakdown of composite screening profiles, post spacing design, and certification benchmarks — the specification decisions that happen before installation starts — see our composite screening panels guide.
If you’re specifying or ordering composite screening for an upcoming project, talk to us first. Request a Quote, and we’ll confirm specs, lead times, and customisation options before you commit.