

A composite cladding failure doesn’t show up on day one. It shows up six months later — when the client calls, the boards are bowing, and the warranty team tells you the install wasn’t compliant.
That’s the job you don’t get paid twice for.
Most failures trace back to the same handful of mistakes. None of them is complicated. All of them are avoidable — if you catch them before the first board goes up.
What to Check Before You Start
Most installation problems start before the first board goes up. Confirm the wall is dry and structurally sound, your subframe material and fixings suit the site, and you’ve read the installation guide for your specific board profile — not a generic one. These checks take 20 minutes and prevent weeks of rework.
Skipping them is the most common trigger for warranty claims. Our 15-year warranty explicitly excludes damage from incorrect installation.
Mistake 1 — Not Preparing the Wall
The most common wall cladding installation mistake is fitting boards over a wall that isn’t ready. The wall surface is the foundation of the whole cladding system. If it’s damp, cracked, or uneven, no amount of good product will fix what’s underneath.
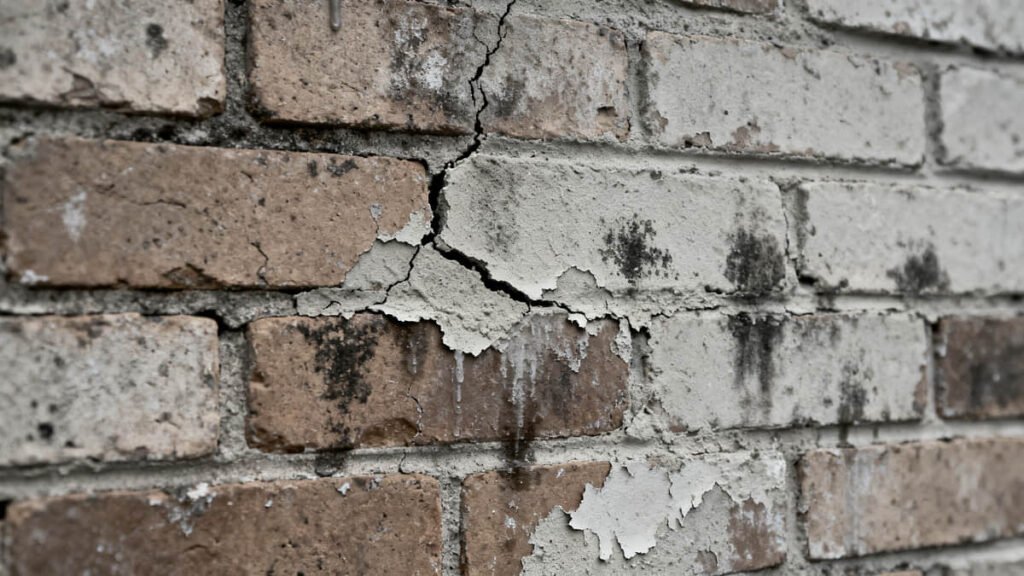
Wall prep means three things. First, the surface needs to be clean and free of loose material. Second, any cracks or damaged sections must be repaired before anything goes up. Third, a moisture barrier is needed anywhere direct water exposure is likely — especially at ground level and around penetrations.
In Australia’s coastal and tropical zones — QLD, NT, and northern WA — base moisture levels are already high. Wall prep is more critical here than in the milder climates most overseas installation guides are written for.
What Happens If You Skip This Step
Moisture behind the panel has nowhere to go. It builds up against the backing wall, leads to mould and staining, and puts pressure on the boards from behind. Over time, panels bow or shift. By the time the problem is visible from the outside, you’re often looking at a structural repair — far more expensive than the prep work would have been. Skipping this step is one of the most common issues we see when distributors call in about early-stage failures.
Mistake 2 — Using the Wrong Subframe
The subframe carries the boards, holds everything in line, and determines how the whole cladding system handles movement. Two things go wrong here — wrong material and wrong spacing.
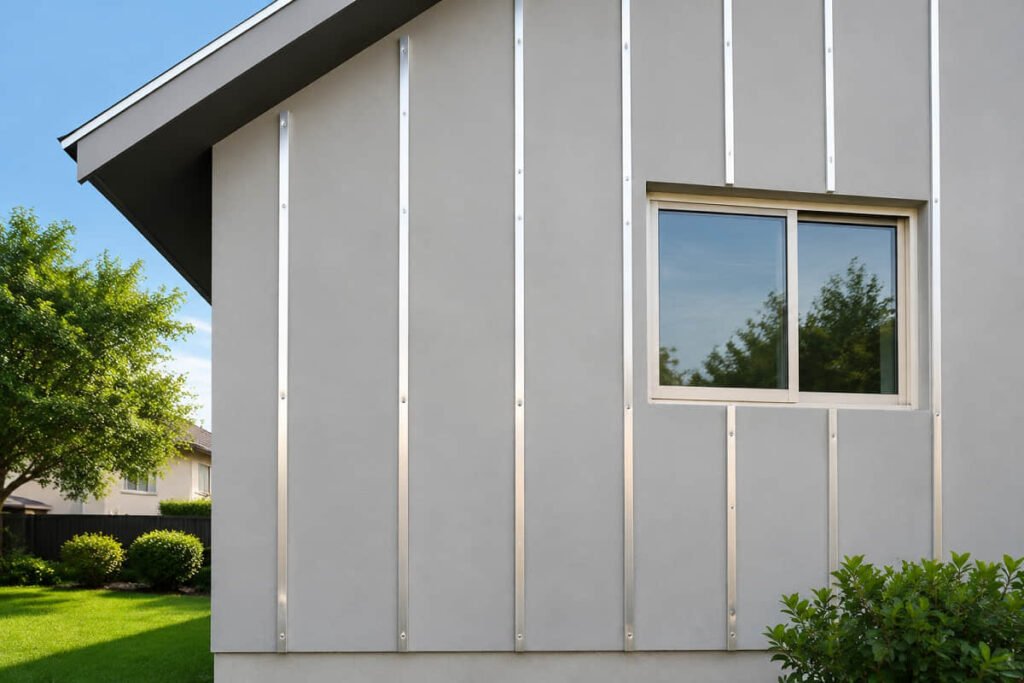
Wrong material: Timber subframes absorb moisture in humid or coastal areas. Over time, they can shrink, twist, or decay — and when the batten moves, the board moves with it. Steel battens cost more upfront, but they don’t take on water.
Wrong spacing: Batten spacing beyond 400 mm causes board flex, especially with wider profiles. LastElegance recommends 300–400 mm centre-to-centre. Go beyond that, and the boards can sag between supports.
There’s one rule that gets missed more than any other: the double joist rule at board ends. Every board end needs solid backing. Without it, the end of the board has no support — it can lift, crack, or let water in behind. Place a double batten anywhere two boards butt up against each other.
Steel or Timber Battens — Which One?
| Factor | Steel Battens | Timber Subframes |
|---|---|---|
| Moisture resistance | High — won’t absorb water | Low — can swell or decay in damp conditions |
| Coastal performance | Strong — suitable for marine environments | Higher risk — needs treated timber minimum |
| Long-term stability | Consistent — won’t twist or shrink | Variable — depends on timber quality and treatment |
The simple decision rule: if the project is within 5 km of the coast, or in a high-humidity zone like tropical QLD or NT, use steel. Inland and low-humidity — treated timber can work, but steel is still the lower-risk call.
Mistake 3 — Skipping Expansion Gaps
Composite boards expand and contract with temperature changes. Without the right gap at board ends and between panels, boards have nowhere to go — they buckle, bow, or crack under the pressure.
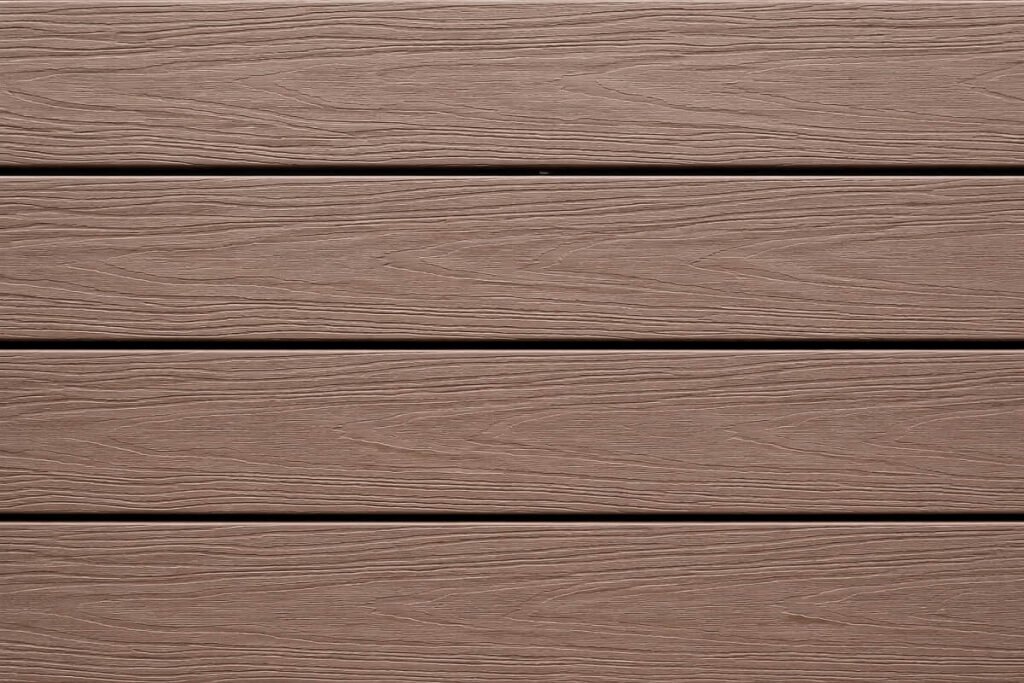
This matters more in Australia than most installation guides acknowledge. A composite board in full sun in Darwin or Cairns sees far bigger day-to-night temperature swings than one in a mild European climate. HDPE-based boards have a defined thermal expansion coefficient. In high-heat zones, that expansion adds up fast across a full wall panel.
Gaps are needed in two places: at every board end, and at every butt joint between panels. Neither can be left out. Skipping the end gaps is the more common error — installers focus on the panel joins and miss the ends.
How Much Gap Do You Actually Need?
Gap size varies by board length, profile, and local climate. Always check the product’s installation guide for the exact figure — it’s profile-specific, and generic guidance won’t be accurate.
As a working guide, plan for 5–8 mm at butt joints and at each board end. In hotter climates, sit at the higher end of that range. Check every end of every board as you go — don’t just set the gap at the perimeter and assume the middle joints are fine.
Mistake 4 — Using the Wrong Fixings
Non-stainless fixings rust fast outdoors — and in coastal conditions, they corrode even faster. Rust bleeds onto the board face and stains it. The fixings lose grip. And if screws are driven in too hard, the cap layer can crack at the fastener point.
Use stainless steel only. Grade 316 is the standard for coastal and marine exposure — it meets AS 3566 for corrosive environments. Grade 304 is the minimum for inland projects. Standard zinc-plated screws aren’t suitable for outdoor cladding and will stain the board surface as they corrode.

For LastElegance composite cladding, the male-female interlocking clip system avoids the over-tightening problem entirely. There are no surface screws through the board face. The clip seats into the groove, locks to the batten, and the next board slides in. Cleaner finish, better long-term performance, and no risk of cracking the cap layer at the fastener point.
Using the wrong fasteners is one of the most common reasons warranties are voided. The installation guide specifies exactly what’s approved — use anything else, and you’re outside warranty coverage.
Mistake 5 — Not Mixing Boards Across Boxes Before Installation
This one costs nothing to fix — but it’s missed constantly.
Composite boards are made in batches. Even within the same colour, subtle variation can exist from one production run to the next. Stack boards from a single box in order, and that variation runs in a visible line across the wall. Step back three metres, and you’ll see it immediately. The client will too.
The fix is simple: open at least three boxes at once and shuffle boards across them as you go. Alternate from different boxes in no fixed pattern. This distributes any variation evenly across the whole wall — and even distribution reads as natural, intentional variation. A concentrated patch doesn’t.
The second part of this mistake is putting a board up before inspecting it. Once it’s clipped in and the next board is locked over it, you’re not getting it back out cleanly. Check each board before it goes up — face, edges, ends. Any surface damage, deep scratch, or end crack gets set aside before install, not discovered during client handover.
What to look for:
- Colour bands or patches that differ visibly from the adjacent board
- End cracks or splits from transport or storage
- Surface scratches through the cap layer — not just surface-level marks
- Boards that have bowed or twisted in storage (store flat, off the ground, under cover)
In Australia’s high-UV conditions, any colour inconsistency gets harder to ignore over time as boards weather. Mixing boards at the start is a one-minute habit that prevents a very visible long-term problem.
Mistake 6 — Getting Board Orientation Wrong
Horizontal and vertical installs both work for composite cladding — but they’re not interchangeable. Each one has different drainage, expansion, and subframe requirements.
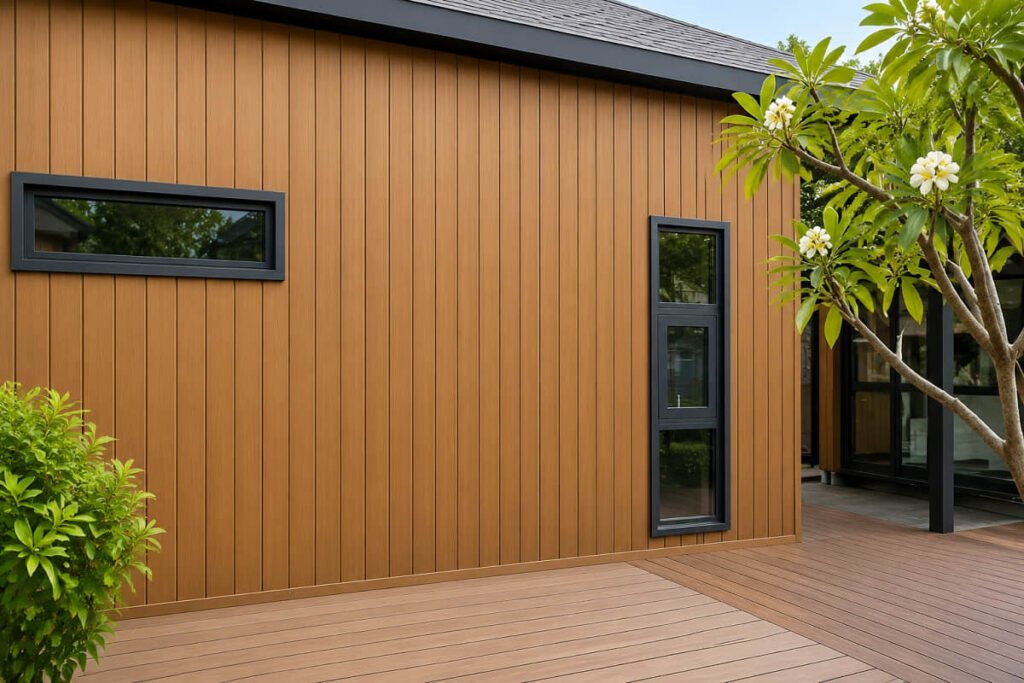
Horizontal boards shed water naturally and are the most common choice for exterior facades. They’re the lower-risk default for most projects.
Vertical boards need careful drainage planning at the base. If water pools at the bottom — especially behind the boards — you lose the ventilation benefit and create a moisture trap. The bottom trim must allow water to escape cleanly.
The subframe direction also changes with board orientation. Horizontal boards need vertical battens. Vertical boards need horizontal battens. Switch the board orientation mid-project, and you’ll need to rethink the whole subframe layout.
North-facing and west-facing walls in Australia get the most direct sun. Horizontal boards on these walls need clean drip-off points at every joint — heat and UV accelerate surface staining where debris sits, which affects the client’s long-term upkeep expectations.
Mistake 7 — Ignoring the Install Guide
Every composite cladding system has an installation guide written by the people who made it. It covers the right subframe, the right fixings, approved gap sizes, and the specific clip system for that board profile. Ignoring it — or using a generic guide from a different product — is the fastest way to void the warranty.
Profiles are not interchangeable. A guide written for a 140×12 mm Oakling Cladding board will not give you the right specs for a 219×26 mm DecoGroove board. Gap sizes, batten spacing, and clip placement are all profile-specific.
Our warranty does not cover damage from incorrect installation. If something fails and you didn’t follow the guide, there’s no cover to fall back on.
Because LastElegance is a manufacturer — not a distributor — you get installation guidance direct from the team who designed the system. When you have a question about a specific profile or project condition, you’re talking to the same people who set the specs.
Want to see how the clip system works before you commit? Request a free sample, and we’ll send one out. →
Frequently Asked Questions
Do I need special tools to install composite cladding?
No specialist tools are needed. A circular saw, drill, and level cover most installs. The hidden clip system means no surface screwing through the board face, which actually speeds up the job. Check the installation guide for the full tool list for your specific profile.
Can composite cladding be installed vertically and horizontally?
Yes — both orientations work, but each needs a different subframe layout. Horizontal is more common for exterior walls because it handles drainage naturally. See Mistake 6 above for what to plan before you choose.
Can composite cladding be used in bushfire-prone zones?
LastElegance composite cladding has been tested to ASTM E84 — Flame Spread Index 85, Smoke Developed Index 300. This does not directly map to an Australian BAL rating under AS 3959. If your project site carries a BAL designation, confirm the product’s fire performance data against NCC Volume 2 requirements before specifying. Our team can provide the full test reports to support your assessment.
How do I handle board joins at corners and window reveals?
Corners and reveals need a trim or return piece — don’t try to mitre the composite board face. Use the manufacturer’s recommended aluminium or WPC trim accessories for a clean, weatherproof finish at every external corner and opening. The installation guide for your specific profile covers the correct method and recommended gap at reveals.
Are there extra things to check when installing near the coast?
Yes. Coastal installs need Grade 316 stainless steel fixings rated for marine exposure, and steel subframe battens are strongly preferred over timber. Pay close attention to the ventilation gap — salt air and humidity add to the moisture load. Check the product spec sheet for coastal-specific guidance before you start.
Does composite cladding need fibre cement backing?
No. Composite cladding is installed on a batten subframe directly over the structural wall, with a ventilation gap behind. Fibre cement is a separate product used as an alternative cladding material — the two systems are not used together.
Getting It Right From the Start
Get these right, and the product performs as designed: low upkeep, long life, and a finish that holds up in Australian conditions. The warranty stays valid. The client stays happy.
For the full step-by-step installation process, see our composite cladding installation guide. Ready to spec up your next project? Talk to our team about the right profile for your wall and climate.