

A composite siding job clears the final walkthrough. The client signs off, and the crew moves to the next site.
Fourteen months later, the callback comes in — buckled boards, rust-streaked fasteners, water sitting behind the wall. The siding didn’t fail. The install did.
We see this pattern often in warranty claims at the factory level. It’s almost always the same handful of steps, skipped under time pressure. This guide breaks down the 8 most common composite siding installation mistakes — what causes each one, and what it costs you in time, materials, and trust.
1. Don’t Skip the Wall and Sheathing Check
New siding can’t fix what’s wrong behind the wall. Rotted sheathing, soft framing, or hidden moisture from the old cladding will make new boards fail fast. Once panels go up, this is the hardest problem to fix.
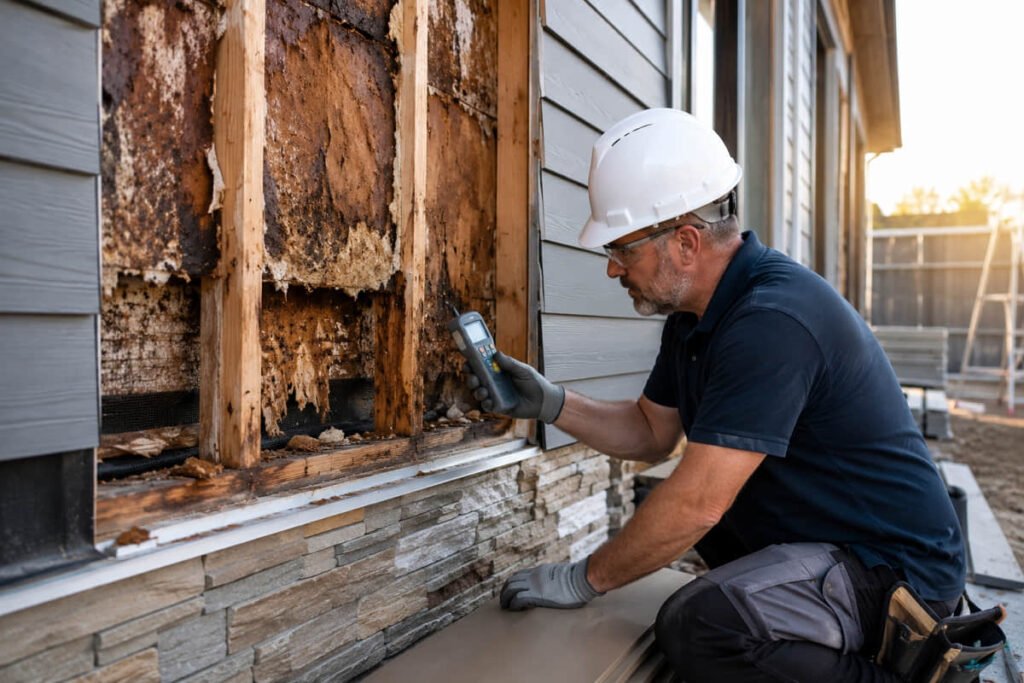
Before installation starts, check for soft spots in the sheathing, mold staining, high moisture readings, and uneven framing. A moisture meter is the right tool for this job, not just a visual check. IRC Section R703 sets the baseline for sheathing condition before new cladding goes on.
Here’s why this mistake gets expensive. The structural damage often stays hidden for 12–24 months. By the time the siding starts to fail, the crew is long gone. The wall has been getting worse the whole time.
We see this pattern often in warranty claims: hidden sheathing damage that surfaces a year later, well after the job is closed out.
2. Getting the Moisture Barrier Wrong
House wrap isn’t a small detail. It’s what keeps the entire wall assembly working, and it’s where the most common composite siding installation mistakes show up.
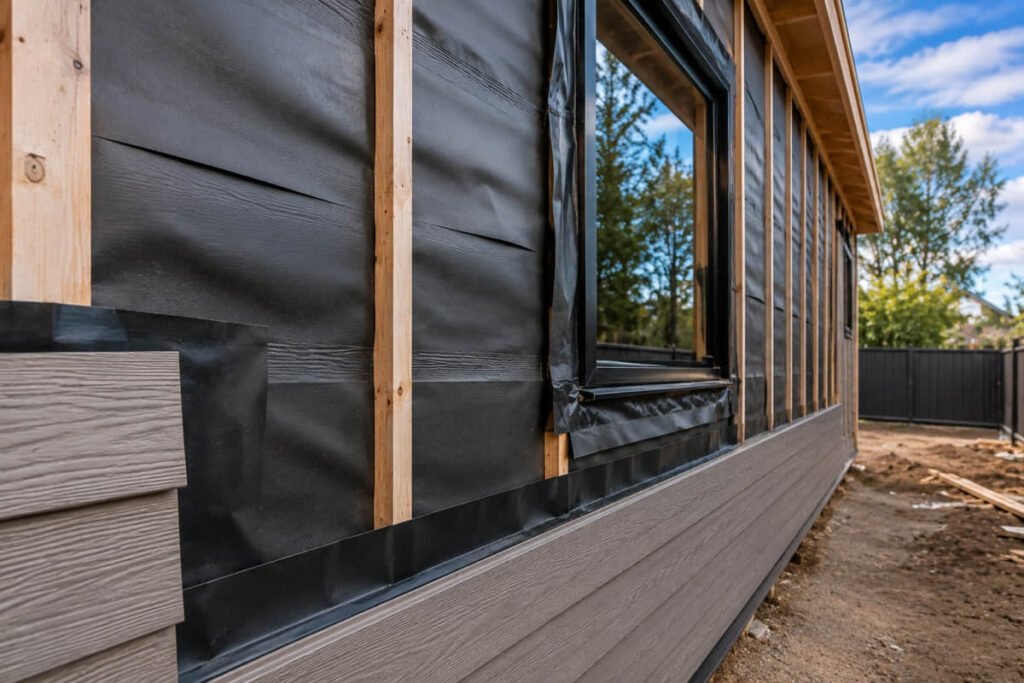
The three most frequent errors, and what each one causes:
- Lapping house wrap the wrong direction. Water sheds in instead of out. Moisture works behind the boards and sits against the sheathing and framing.
- Leaving gaps at seams. Even a small gap gives water a path in. Moisture buildup follows, and it speeds up framing decay faster than most crews expect.
- Not tying flashing into the house wrap at windows and doors. When the wrap and flashing don’t work as one system, water finds a direct path into the wall. The damage starts at the framing, not the siding surface.
Composite siding with a batten subframe creates a natural rain screen gap. That gap improves drainage and ventilation behind the boards. But it only helps if the weather-resistive barrier (WRB) behind it goes in correctly, per IRC Section R703.
The HDPE core in composite boards resists moisture well. The wall framing behind the boards does not. The WRB protects the structure, not the siding.
3. Flashing Errors at Windows and Doors
Windows and doors are where water most often gets into a wall. Flashing errors at these openings cause more structural damage claims than almost any other installation mistake.
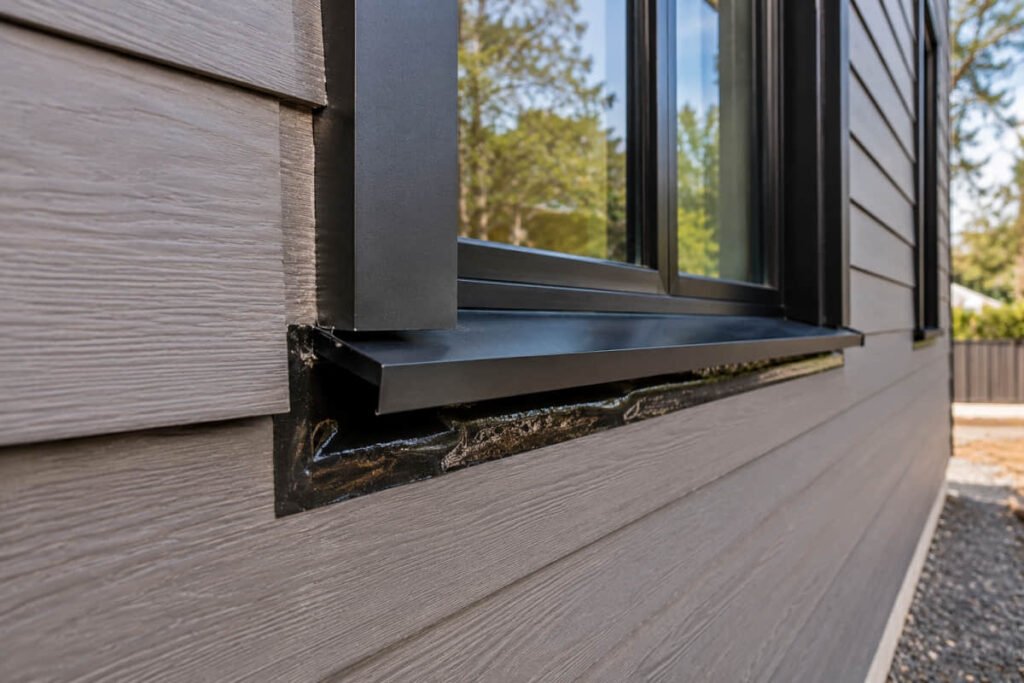
The three errors that come up most:
- Flashing cut too short. It doesn’t reach far enough past the opening edge to redirect water away from the frame.
- Wrong overlap order. Flashing has to run shingle-style, with the bottom piece installed first and each layer overlapping the one below. Reverse it, and water runs behind the flashing instead of over it.
- No sill pan flashing. A sill pan catches water that gets past the window frame. Without one, that water sits on the rough sill and soaks into the framing.
Composite siding installs faster than fiber cement, and that speed can work against a crew here. Rushed jobs sometimes skip or shortcut the flashing step. That time saved disappears fast once structural damage shows up 2–5 years later, long after the job is closed out.
Our distributors along the Gulf Coast tell us flashing shortcuts cause more leak calls than any other install step.
For sill pan materials, check AAMA 711. It covers the standard for self-adhered flashing tape. Confirm it matches your project specs before you buy.
4. Wrong Fasteners or Nailing Too Tight
Composite boards made with HDPE and wood fiber need room to move with temperature changes. Drive nails too tight, and the board can’t move. Boards buckle or warp under seasonal pressure.
The most common fastening errors:
- Wrong corrosion grade. Electro-galvanized nails rust in coastal or wet climates, leaving stains on the panel face within a season. Use stainless steel or hot-dipped galvanized fasteners per ASTM A153.
- Driving nails flush or countersunk. The board needs to float slightly on the fastener. Snug, not tight, is the target.
- Missing the manufacturer’s nailing zones. Each panel has specified placement zones. Drive outside them, and you risk cracking the board face or letting the panel rock under load.
This is where composite siding behaves differently from fiber cement. Fiber cement gets nailed tight to the wall. WPC composites don’t work that way — the material needs room to move.
LastElegance’s interlocking clip system skips face-nailing entirely. Stainless steel clips do the fastening — sold separately as a matching accessory. Since panels are clip-fixed, the nailing issues above don’t apply here. The clips still need correct placement, though. Manufacturer guidelines cover the spacing and placement specs.
5. Missing or Wrong Expansion Gaps
Composite boards expand in heat and contract in cold. The gap at board ends gives them room to do that without pushing against the next panel.
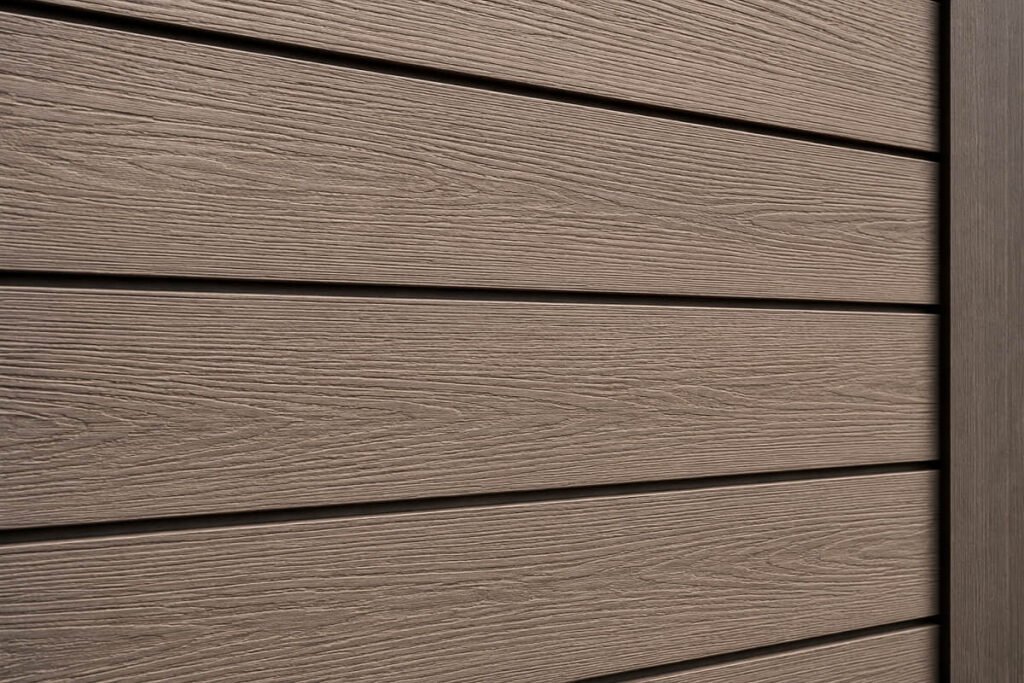
The right gap at board ends is 5–8 mm (roughly 3/16″–5/16″), depending on board length and the expected temperature range at the job site. That range matters more than it looks.
In a climate with wide swings, think Minnesota winters and summer highs, go to the larger end of the range. In milder coastal climates, smaller gaps work fine. Crews that skip this step, or size gaps by eye instead of spec, run into trouble. Panels buckle in summer heat, or boards under compression crack over time.
Installers in Minnesota size their gaps at the high end of that range on every fall job. The climate calls for it.
There’s also an acclimation step that gets skipped more than it should. Boards need to sit on site at ambient temperature for at least 24 hours before installation. This lets the material settle to local conditions before you fix it to the wall.
The 5–8 mm spec comes from our own installation data, backed by ASTM G154 QUV weathering testing for thermal performance. Gap design is part of that system, not an afterthought.
Need help sizing gaps for a specific climate zone? Contact our technical team before the install starts.
6. Cutting Composite Boards the Wrong Way
Composite siding cuts with standard woodworking tools. But the wrong blade or technique leaves splintered edges and torn profiles that won’t seat properly in the interlocking system.

The cutting dos and don’ts for composite siding boards:
- ✅ Use a carbide-tipped, wood-cutting blade
- ✅ Support the offcut end to stop tear-out at the cut line
- ✅ Let the saw reach full speed before entering the board
- ❌ Don’t use fine-tooth metal-cutting blades
- ❌ Don’t push the saw through fast — let the blade do the work
- ❌ Don’t leave cut edges rough where boards meet trim, corners, or a panel from another course
This is one area where composite has a real edge over fiber cement. Cutting fiber cement creates silica dust. OSHA rules call for P100 respirators, wet cutting methods, or both. Composite siding skips that hazard entirely.
Clean, square cuts still matter, though, especially at the interlocking profile. A rough edge at the join point keeps panels from seating flush. That gap in the facade becomes a path for water.
Per manufacturer guidelines, always use a blade rated for composite or hardwood, never general-purpose or metal-cutting blades.
7. Wrong Batten Spacing for the Subframe
This is the mistake competitor articles rarely cover. It’s also one of the most common ones we see on composite siding jobs.
Composite siding installs over a steel batten (furring strip) subframe, not directly onto sheathing. This step is specific to this product type, and crews used to fiber cement or vinyl don’t always know it.
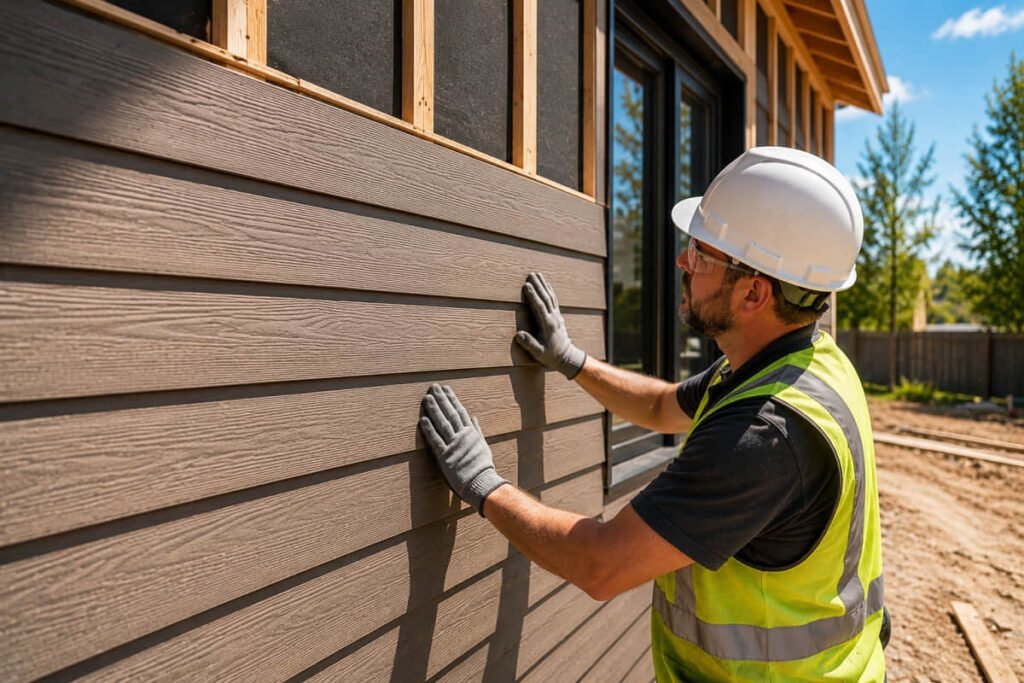
The correct batten spacing is 12″–16″ on center (300–400 mm). Anything beyond 16″ is a mistake. Space the battens too far apart, and the siding panels flex between fixing points. Over time, they bow. Bowed panels lose contact with the fastening clips, and the installation is no longer secure.
The batten system does more than support the panels. It creates the rain screen gap between the WRB and the siding boards, letting drainage and ventilation work behind the wall. That gap is what makes the moisture management system work as designed. Without it, or without correct spacing, even a perfect WRB won’t perform the way it should.
This approach lines up with best-practice wall assembly guidance and IRC Section R703.9 for rain screen design. It’s not optional, and it’s not a minor spec detail.
8. Ignoring Building Codes and Manufacturer Guidelines
Composite siding needs to meet local building code requirements, not just look right on the wall.
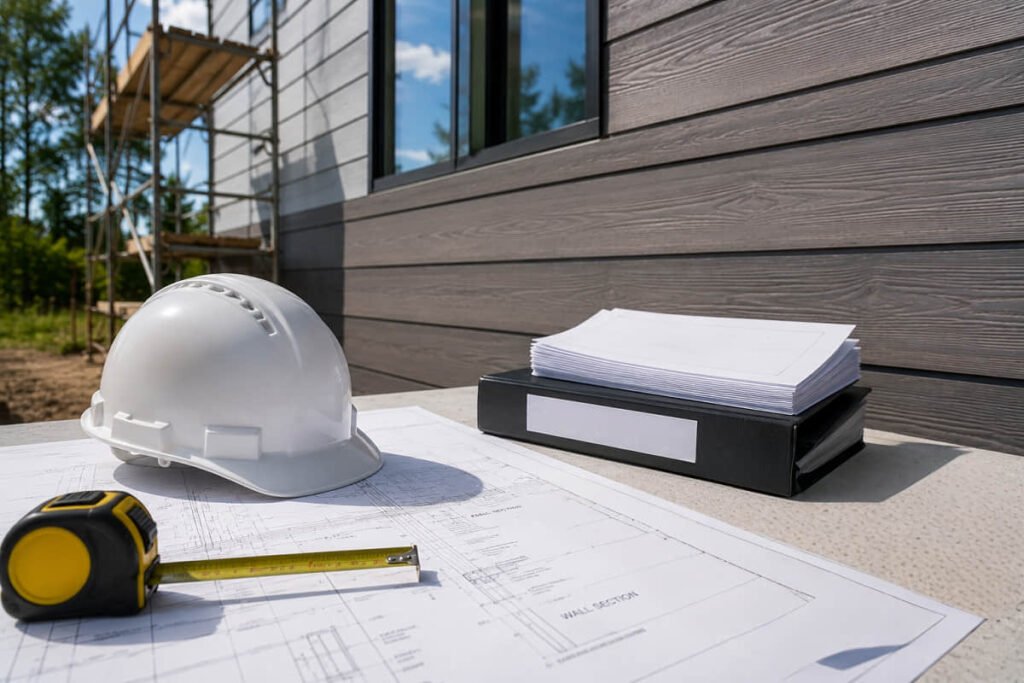
What to check before specifying composite siding on a commercial or residential project:
- ASTM E84 fire classification. LastElegance composite siding carries a Class C rating (FSI 85, SDI 300). That’s suitable for many exterior uses, but multi-family and commercial projects may need Class A or B. Check with your AHJ (authority having jurisdiction) before you spec it.
- IRC R703 and IBC requirements. These govern weather-resistive barriers, wind load, and cladding attachment for residential and commercial builds.
- State and local overrides. California, Florida, and the Gulf Coast states often go beyond baseline IRC. Hurricane-prone zones have stricter rules for post spacing and attachment detail.
Our compliance team fields more code questions from Florida and the Gulf Coast than from anywhere else.
Beyond codes, manufacturer installation guidelines govern warranty coverage. Most composite siding warranties void the moment installation deviates from spec, even when the deviation looks minor. LastElegance composite siding carries a 20-year warranty, but that coverage depends on a compliant install.
Pulling the local permit and checking AHJ requirements upfront costs an hour. Forced removal after a failed inspection costs a lot more.
We provide technical documentation on request, including ASTM E84 test data and wall assembly specs. Contact our sales team for code compliance support on your next project.
Frequently Asked Questions
What weather conditions should I avoid when installing composite siding?
Don’t install on wet surfaces or in the rain. Moisture trapped behind panels from day one causes long-term problems. Very cold temperatures (below 40°F / 4°C) make boards harder to work with and can leave cut edges brittle. In high heat, use a slightly larger expansion gap than standard spec, and check manufacturer guidelines for your climate zone.
What fasteners work best for composite siding?
For clip-system composite siding like LastElegance, stainless steel clips matched to the board profile do the fastening — face nailing isn’t needed. For face-fixed products, use corrosion-resistant stainless steel or hot-dipped galvanized fasteners per ASTM A153. Never use electro-galvanized fasteners in coastal or high-humidity climates; they rust and stain the board face within a season.
Why do manufacturer guidelines matter for composite siding warranty coverage?
Two reasons: warranty and performance. Most composite siding warranties void the moment installation deviates from manufacturer specs, even when the deviation seems minor. Gap sizes, batten spacing, and fastener placement are engineered to work as one system. Change one, and the others stop performing as tested.
What are the disadvantages of composite siding?
Composite siding costs more upfront than vinyl, and it needs a batten subframe that crews unfamiliar with the product may not expect. Composite handles moisture far better than wood or fiber cement, but the wall behind it still needs a proper moisture barrier and flashing. The trade-off: lower long-term maintenance, better performance in extreme climates, and a longer service life than most alternatives.
Get It Right the First Time
Most composite siding installation mistakes are easy to avoid with the right prep and the right specs in hand. The ones that aren’t, like sheathing damage and hidden moisture problems, are exactly why the inspection step comes first.
If you’re ready to walk through the full install sequence, our composite siding installation guide covers it from sheathing check to final fastening.
If you’re specifying composite siding for a project, request a quote — our team will get you accurate specs, lead times, and the technical documentation your crew needs before installation starts.